 Copy Stand.
|
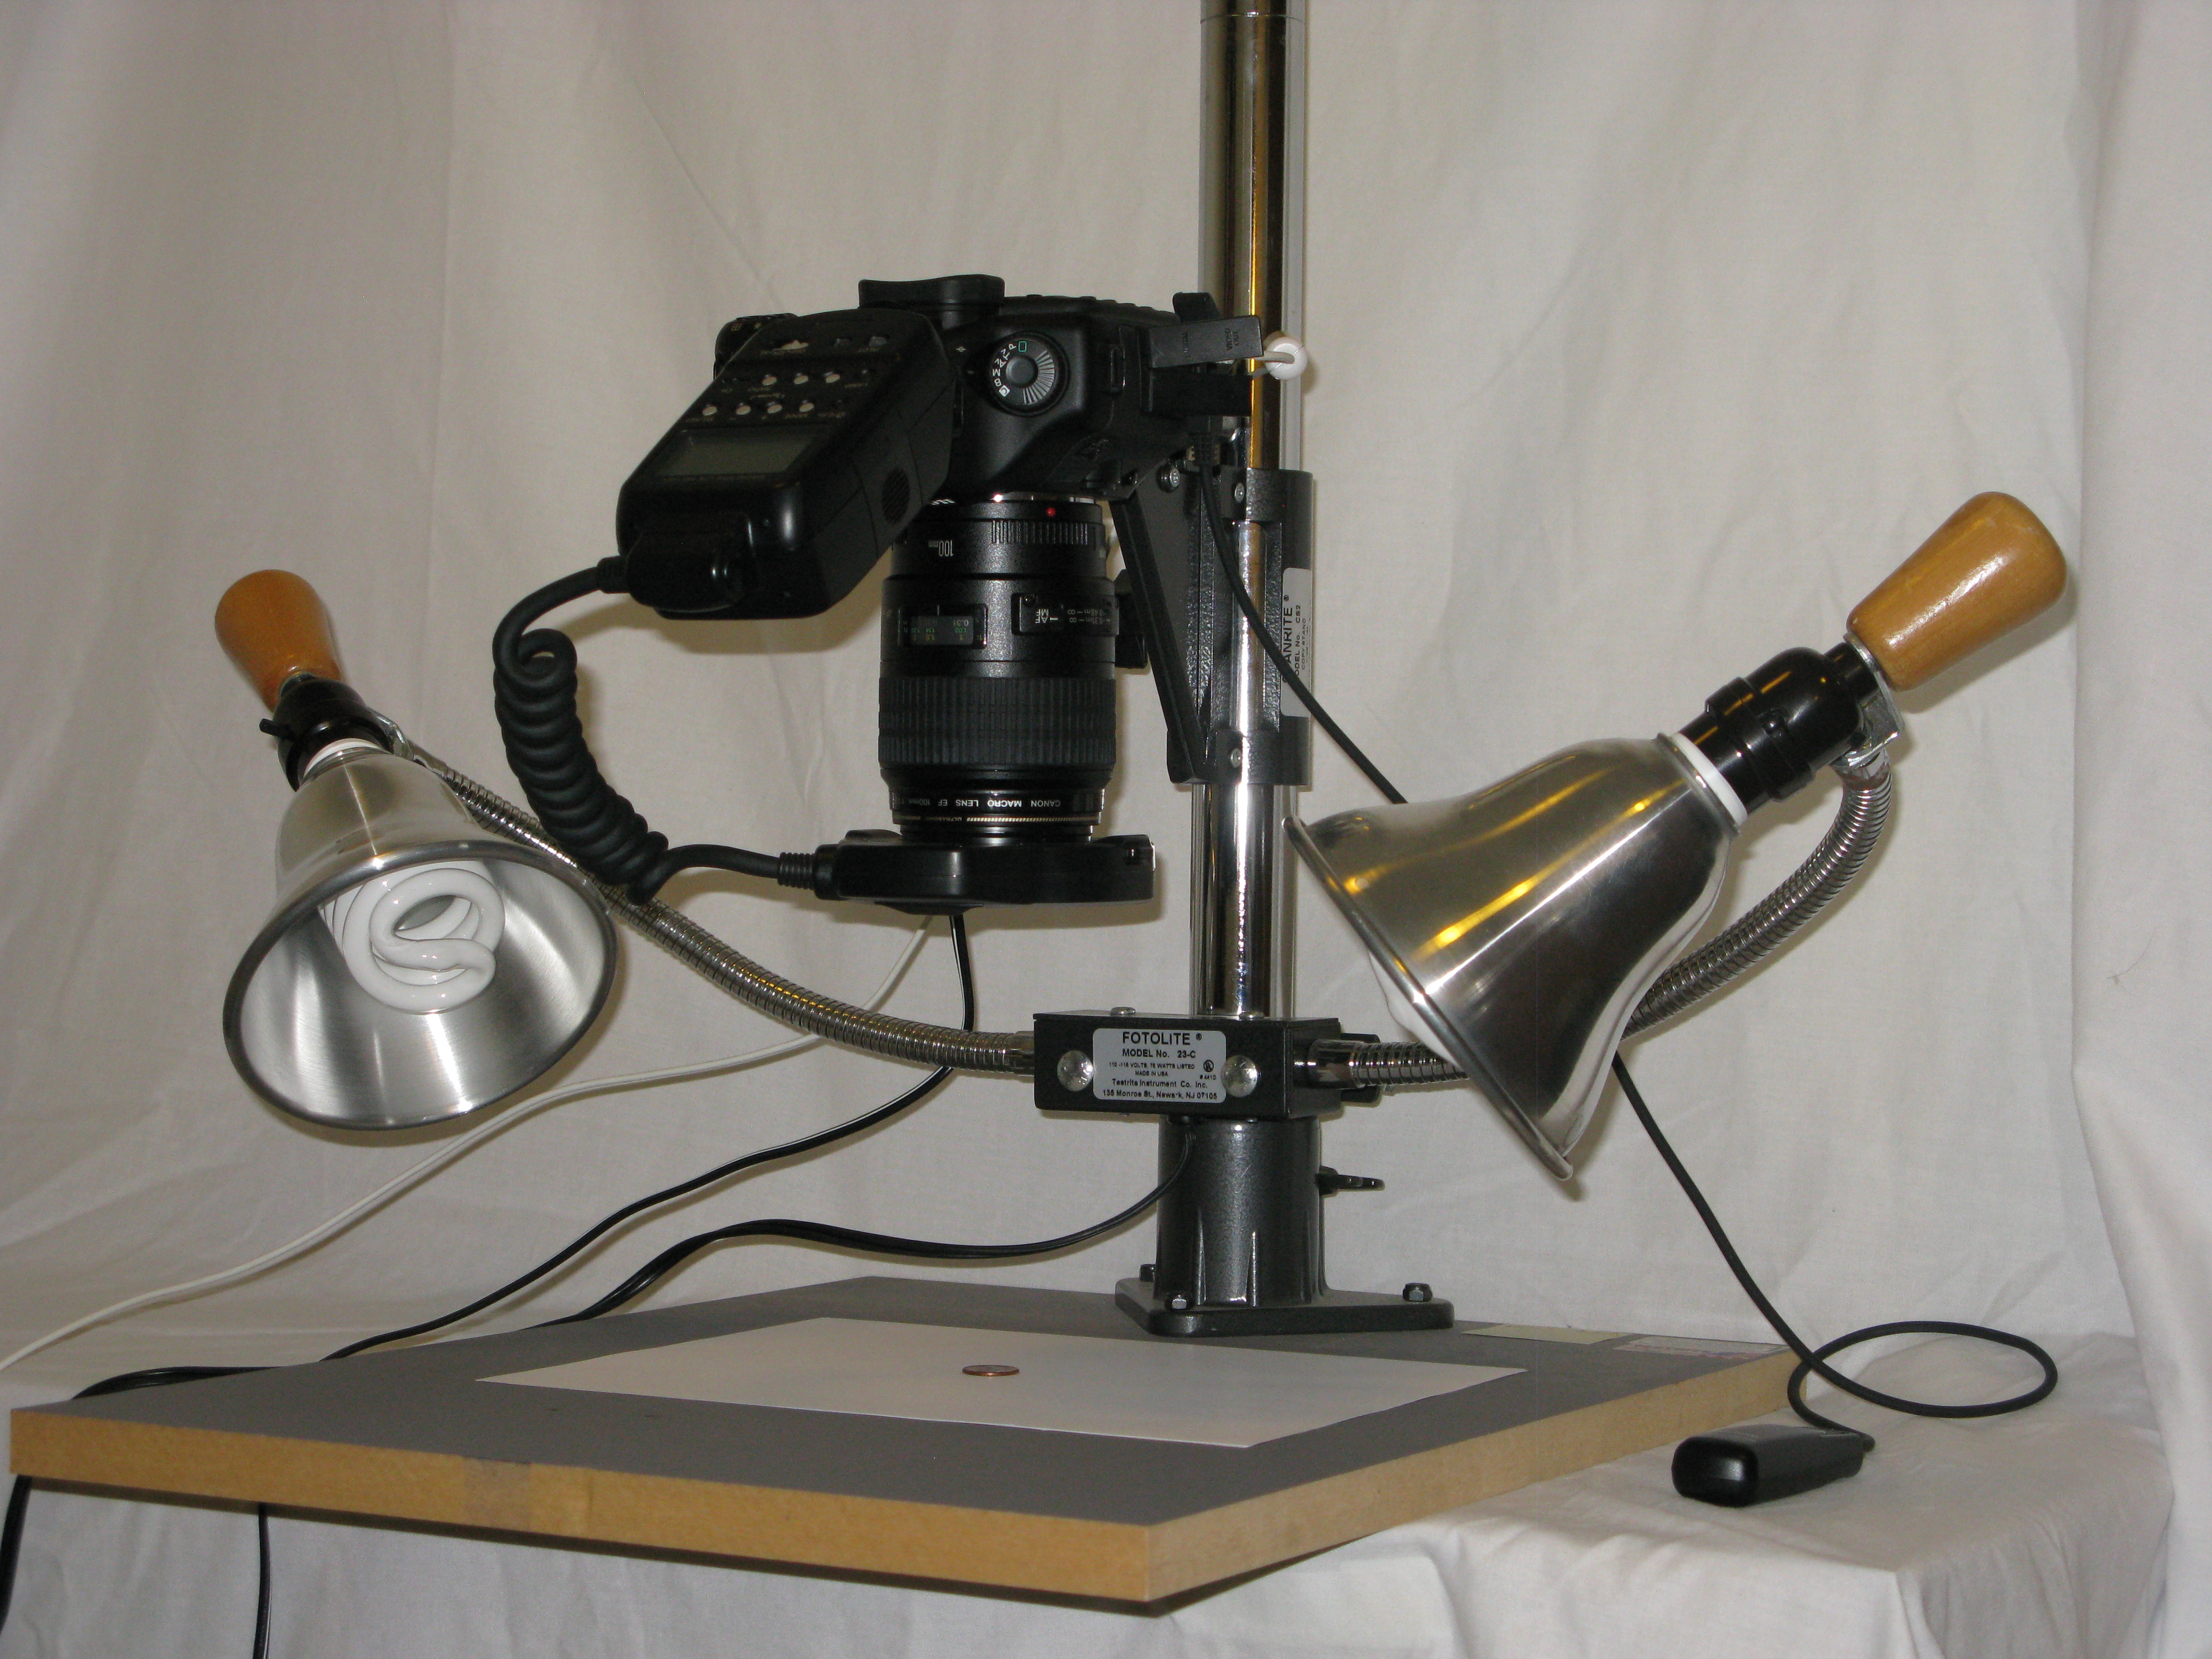
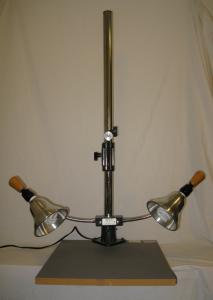
The copy stand provides a platform to hold the item being photographed and a mount to hold the camera in the correct position. This copy stand also provides lighting for some photographs.
This simple stand, made by Testrite, is little more than a board, a pole, a clamp that holds the camera to the pole, and a pair of lamps that clamp to the pole. Fancier stands may provide a camera mount that supports finer adjustment with a knob or better lighting.
This copy stand lacks fine adjustments to ensure the post is perfectly perpendicular to the base. This hasn't been a problem in practice.
|
 Camera Mount.
|
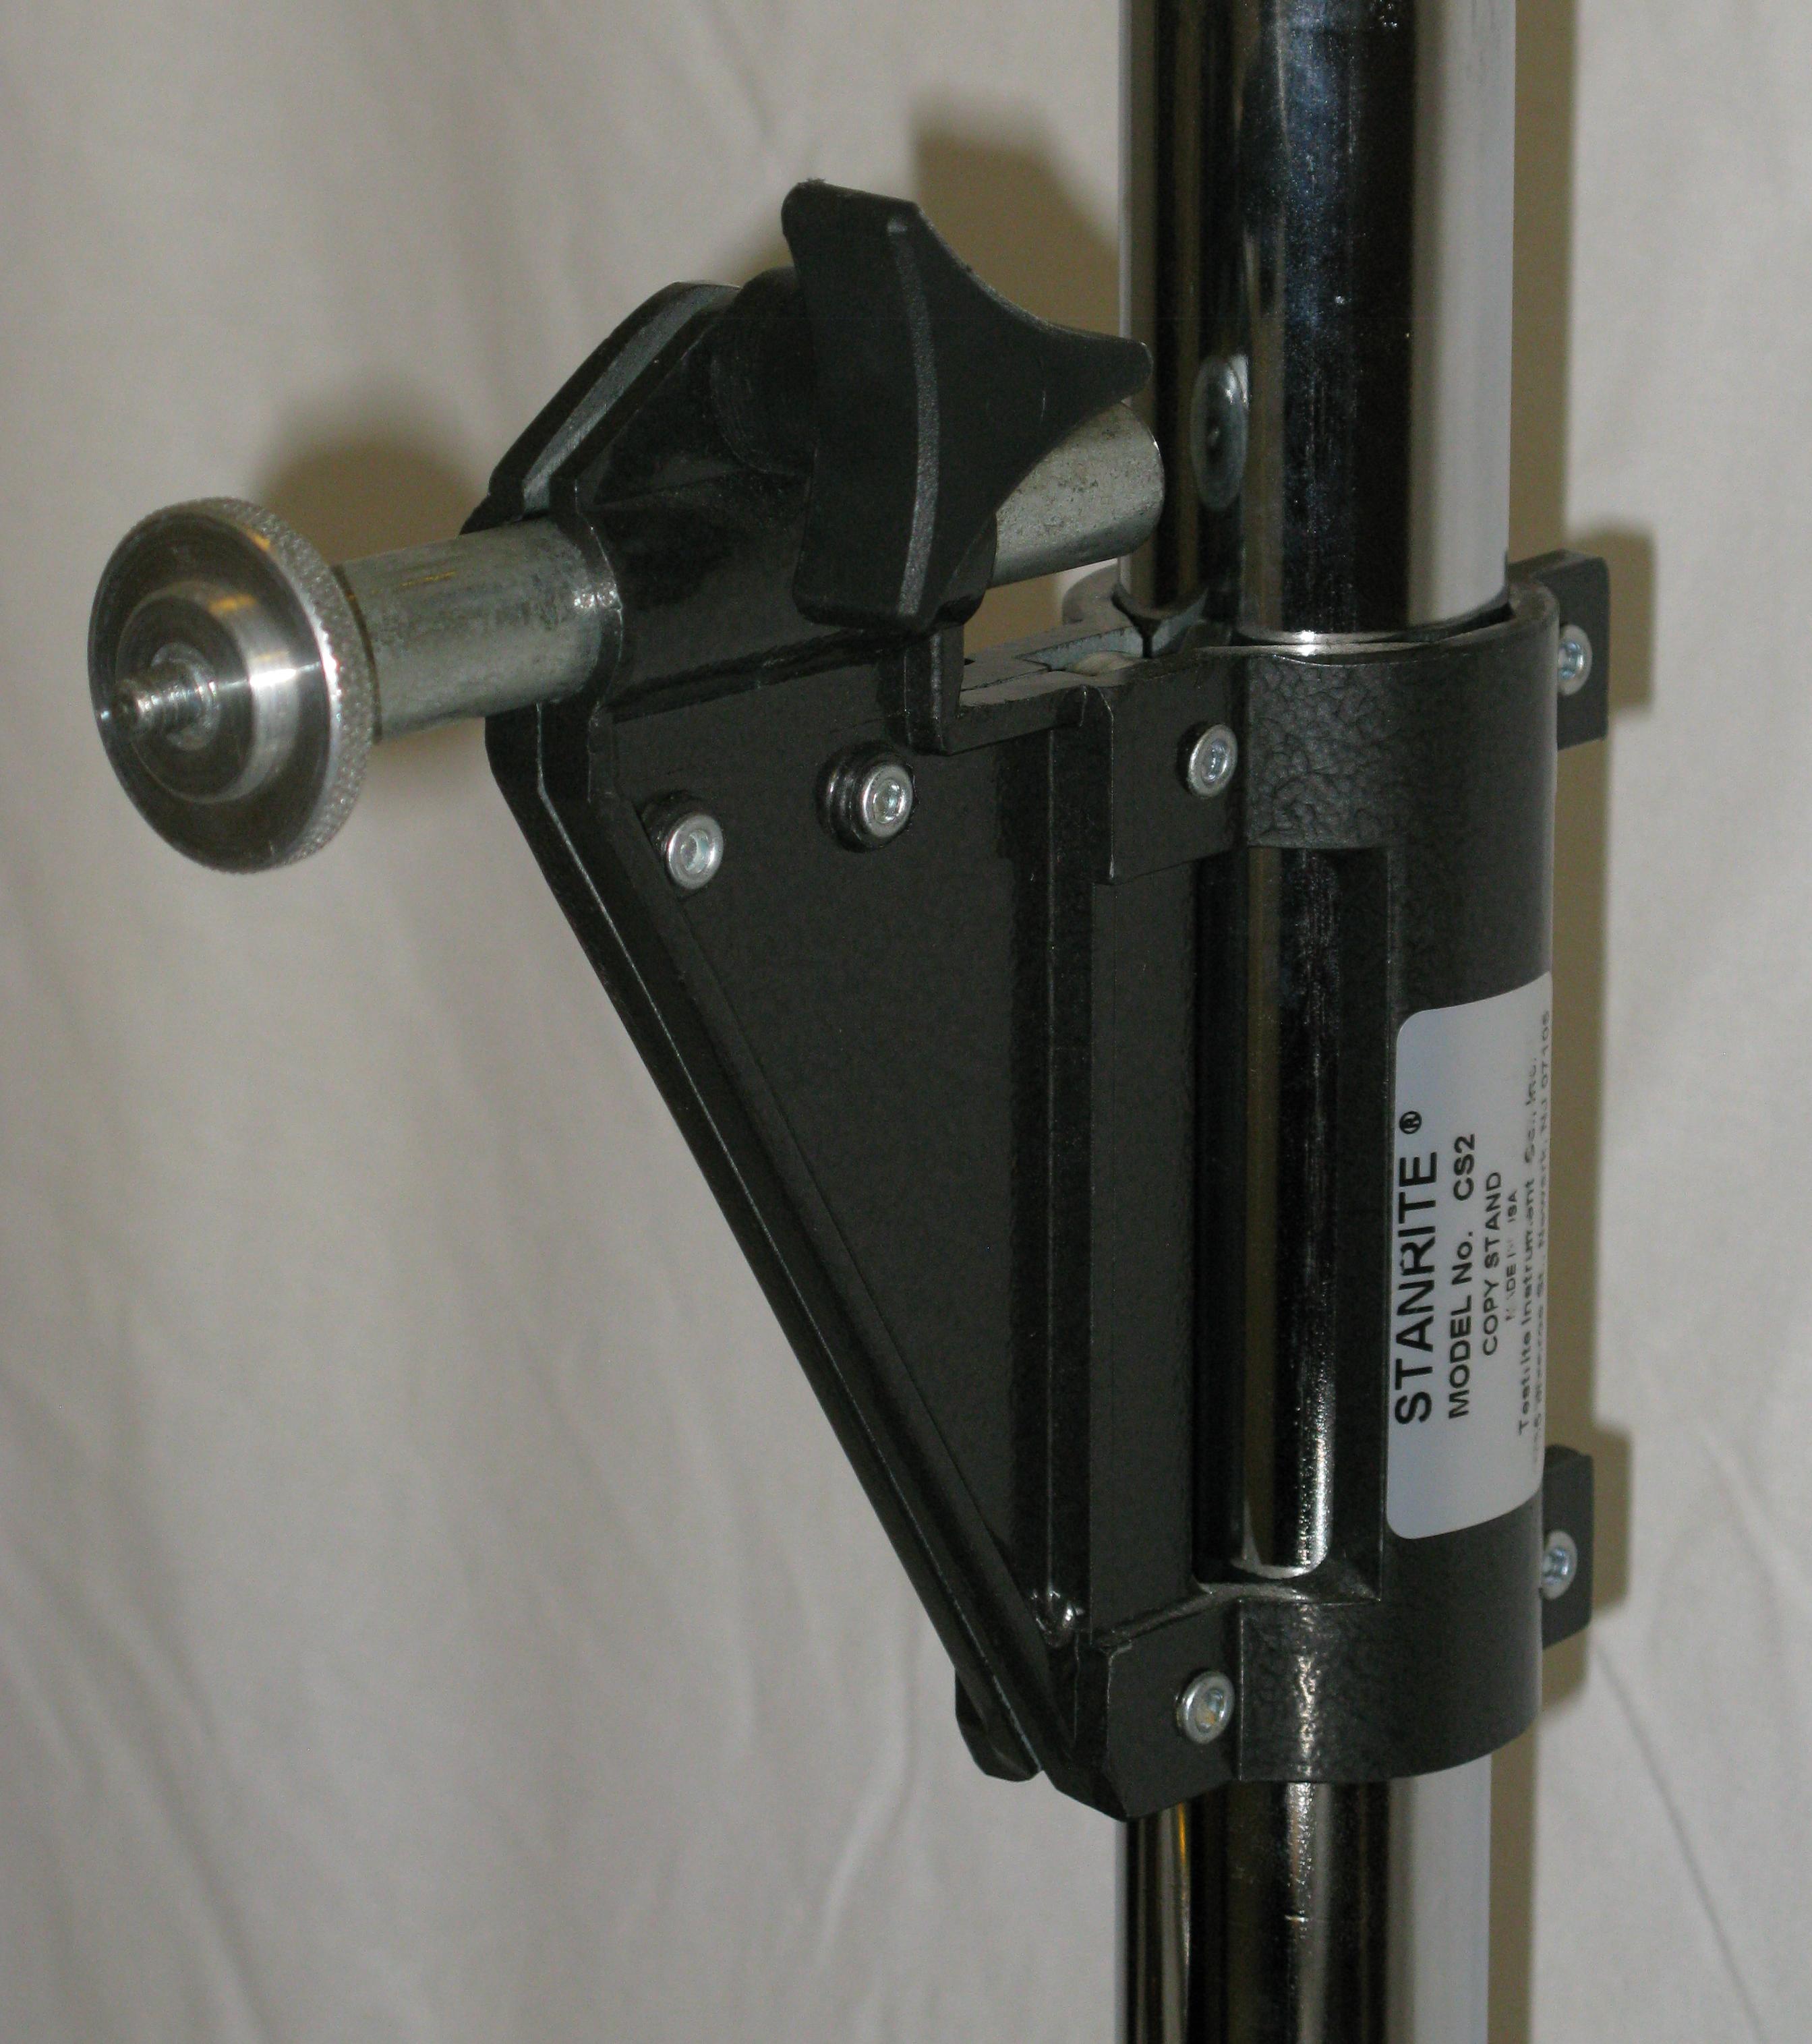
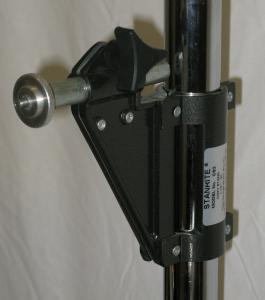
The camera is mounted to the copy stand using this clamp. The horizontal, silver post sticking out to the front is screwed into the bottom of the camera. This post can be slid to give several inches of travel allowing larger items to be photographed. Also, the camera can be twisted to the left and right allowing the camera to be adjusted to be perpendicular to the item, or even slightly off-perpendicular. The knob at the top of the mount tightens the mounting post to keep the camera stable.
The mount can be slid up and down the copy stand post. A knob on the far side of the mount (not visible in this photo) is tightened to hold the camera in place.
This mount lacks fine adjustments to make the camera perfectly perpendicular to the base. In practice this hasn't been a problem.
|
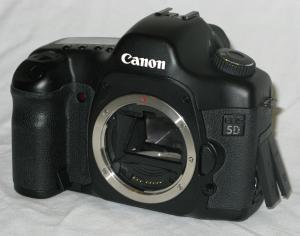 Canon 5D Camera Body
|
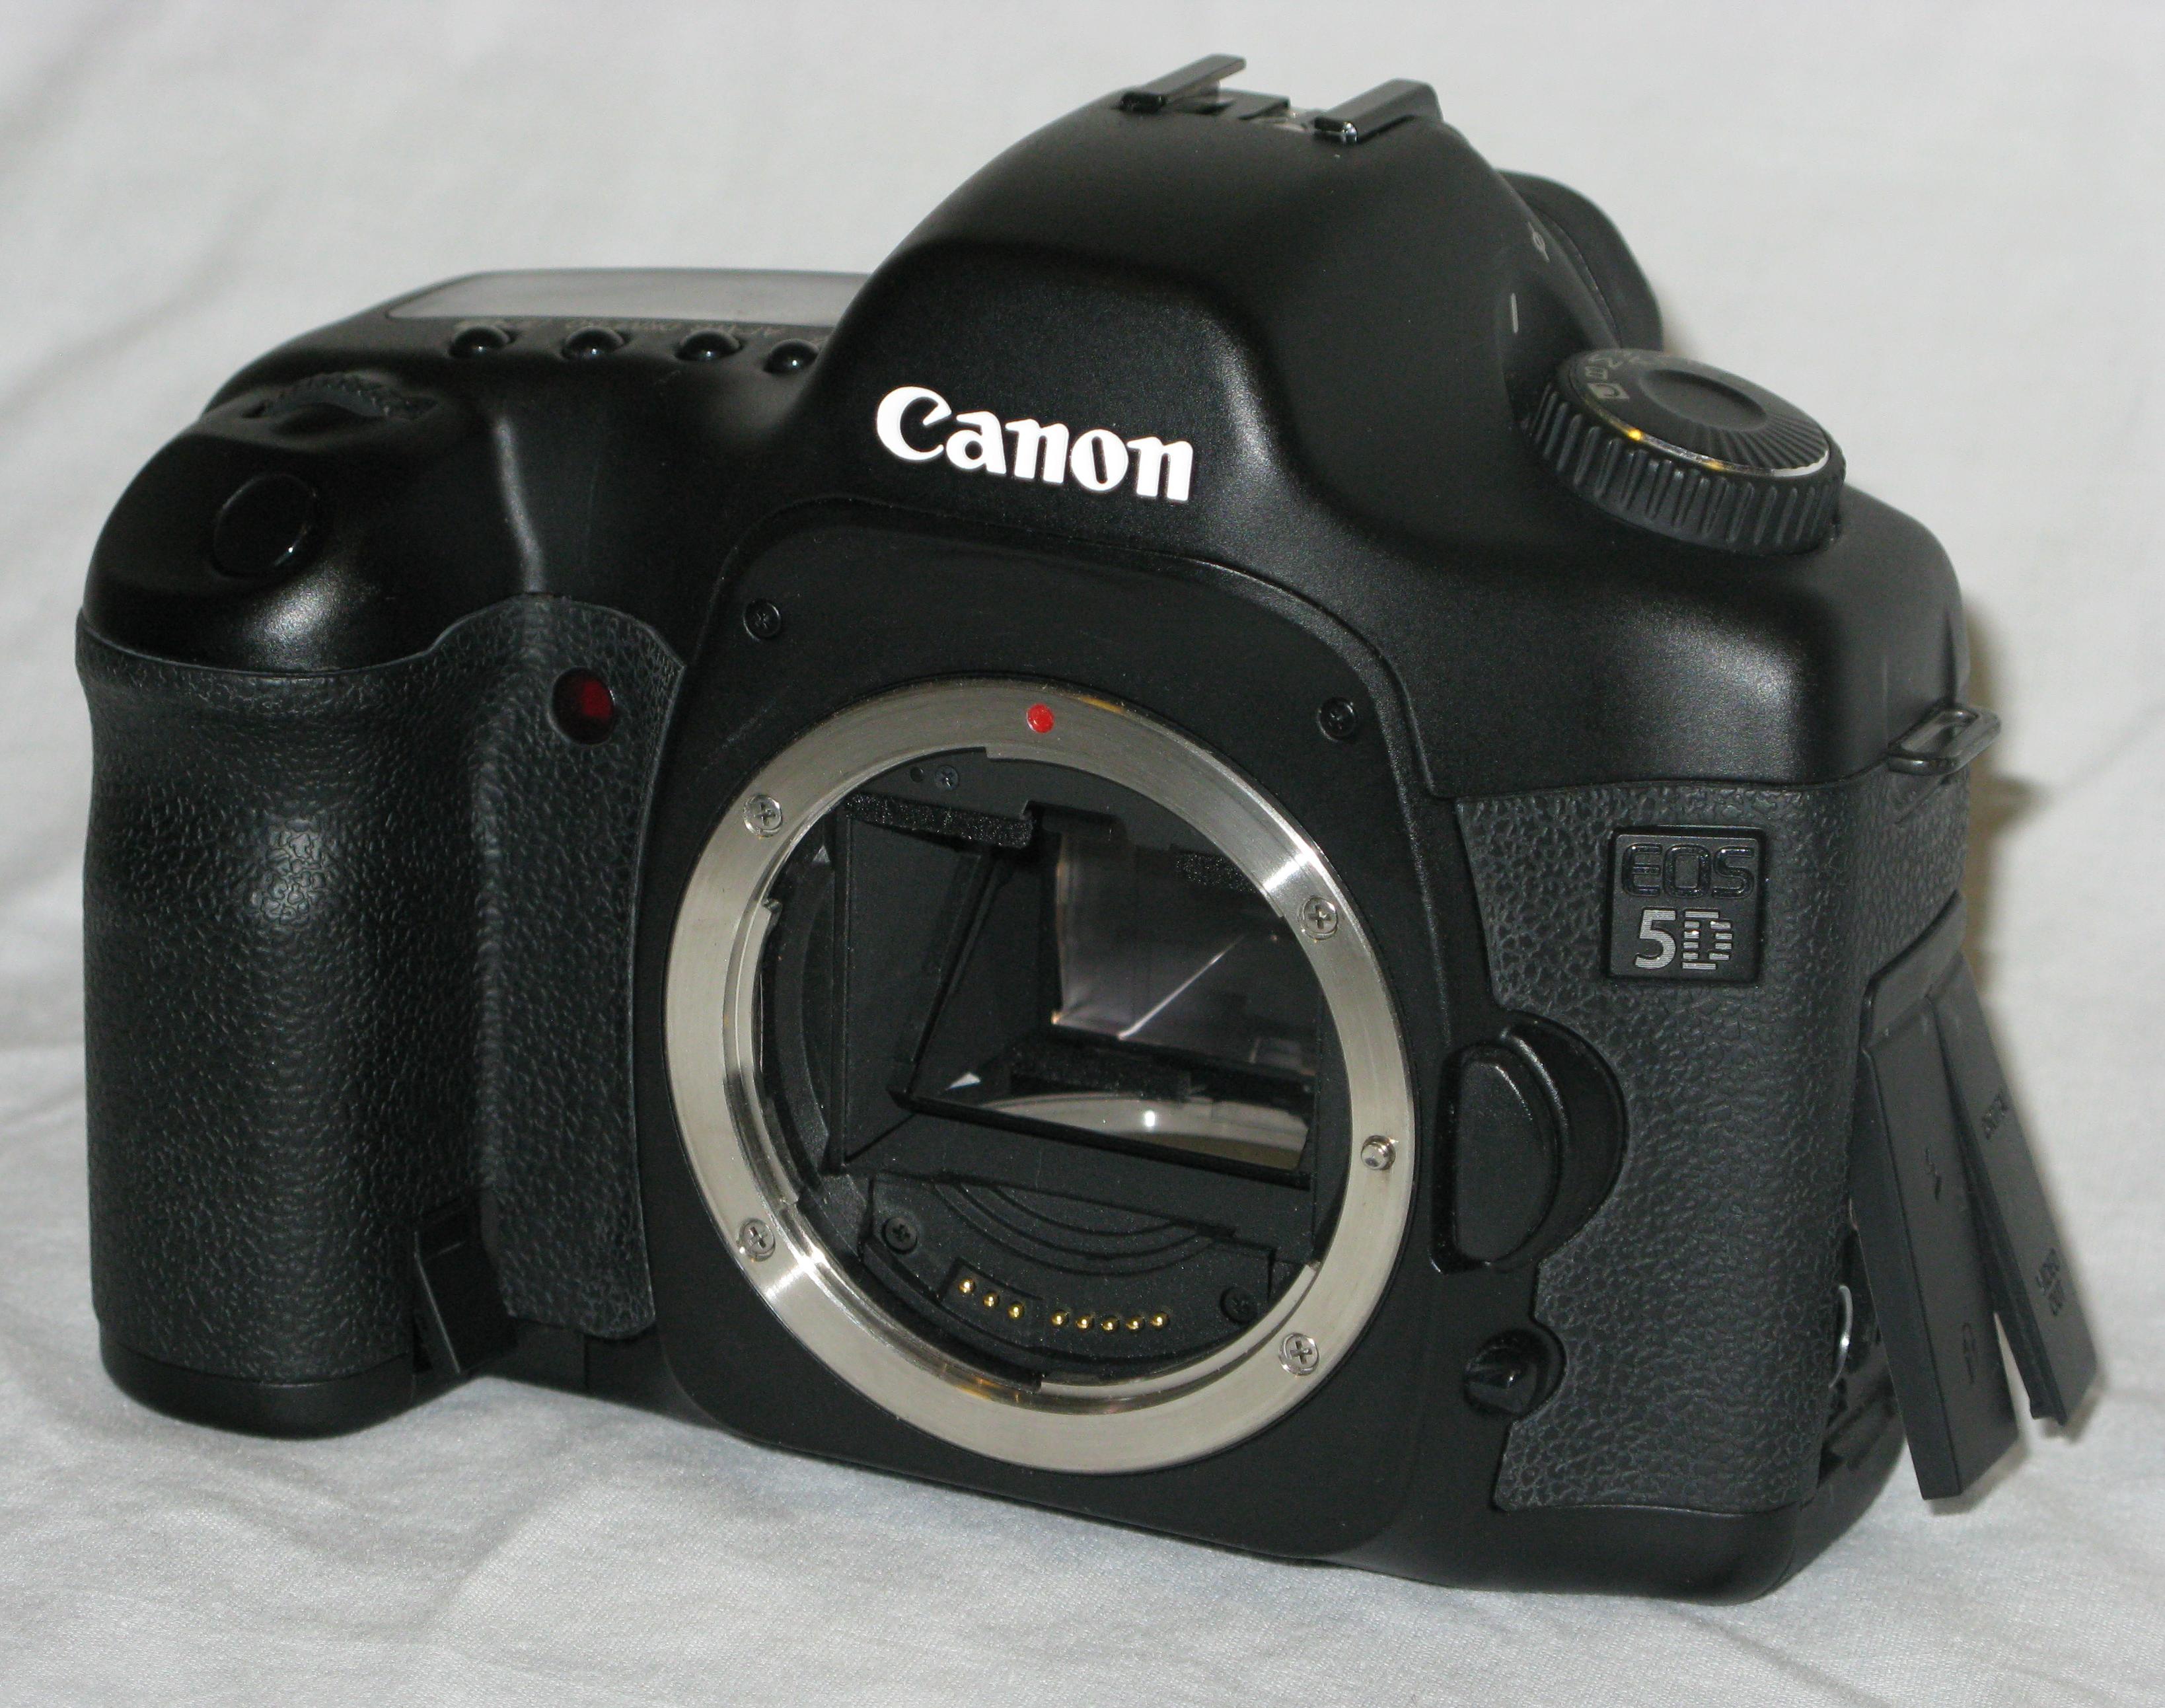
The Canon 5D is a digital camera with a full sized sensor. It is part of Canon's EOS family of camers and can use all the EOS lenses and accessories. This camera takes pictures with a maximum resolution of 4368x2912 pixels.
The Canon 5D can be connected to a computer using a USB cable. Using Canon's software the camera can be controlled from the computer. When a picture is taken it is automatically downloaded to the computer and displayed. This gives you immediate feedback and the picture can be retaken if needed.
|
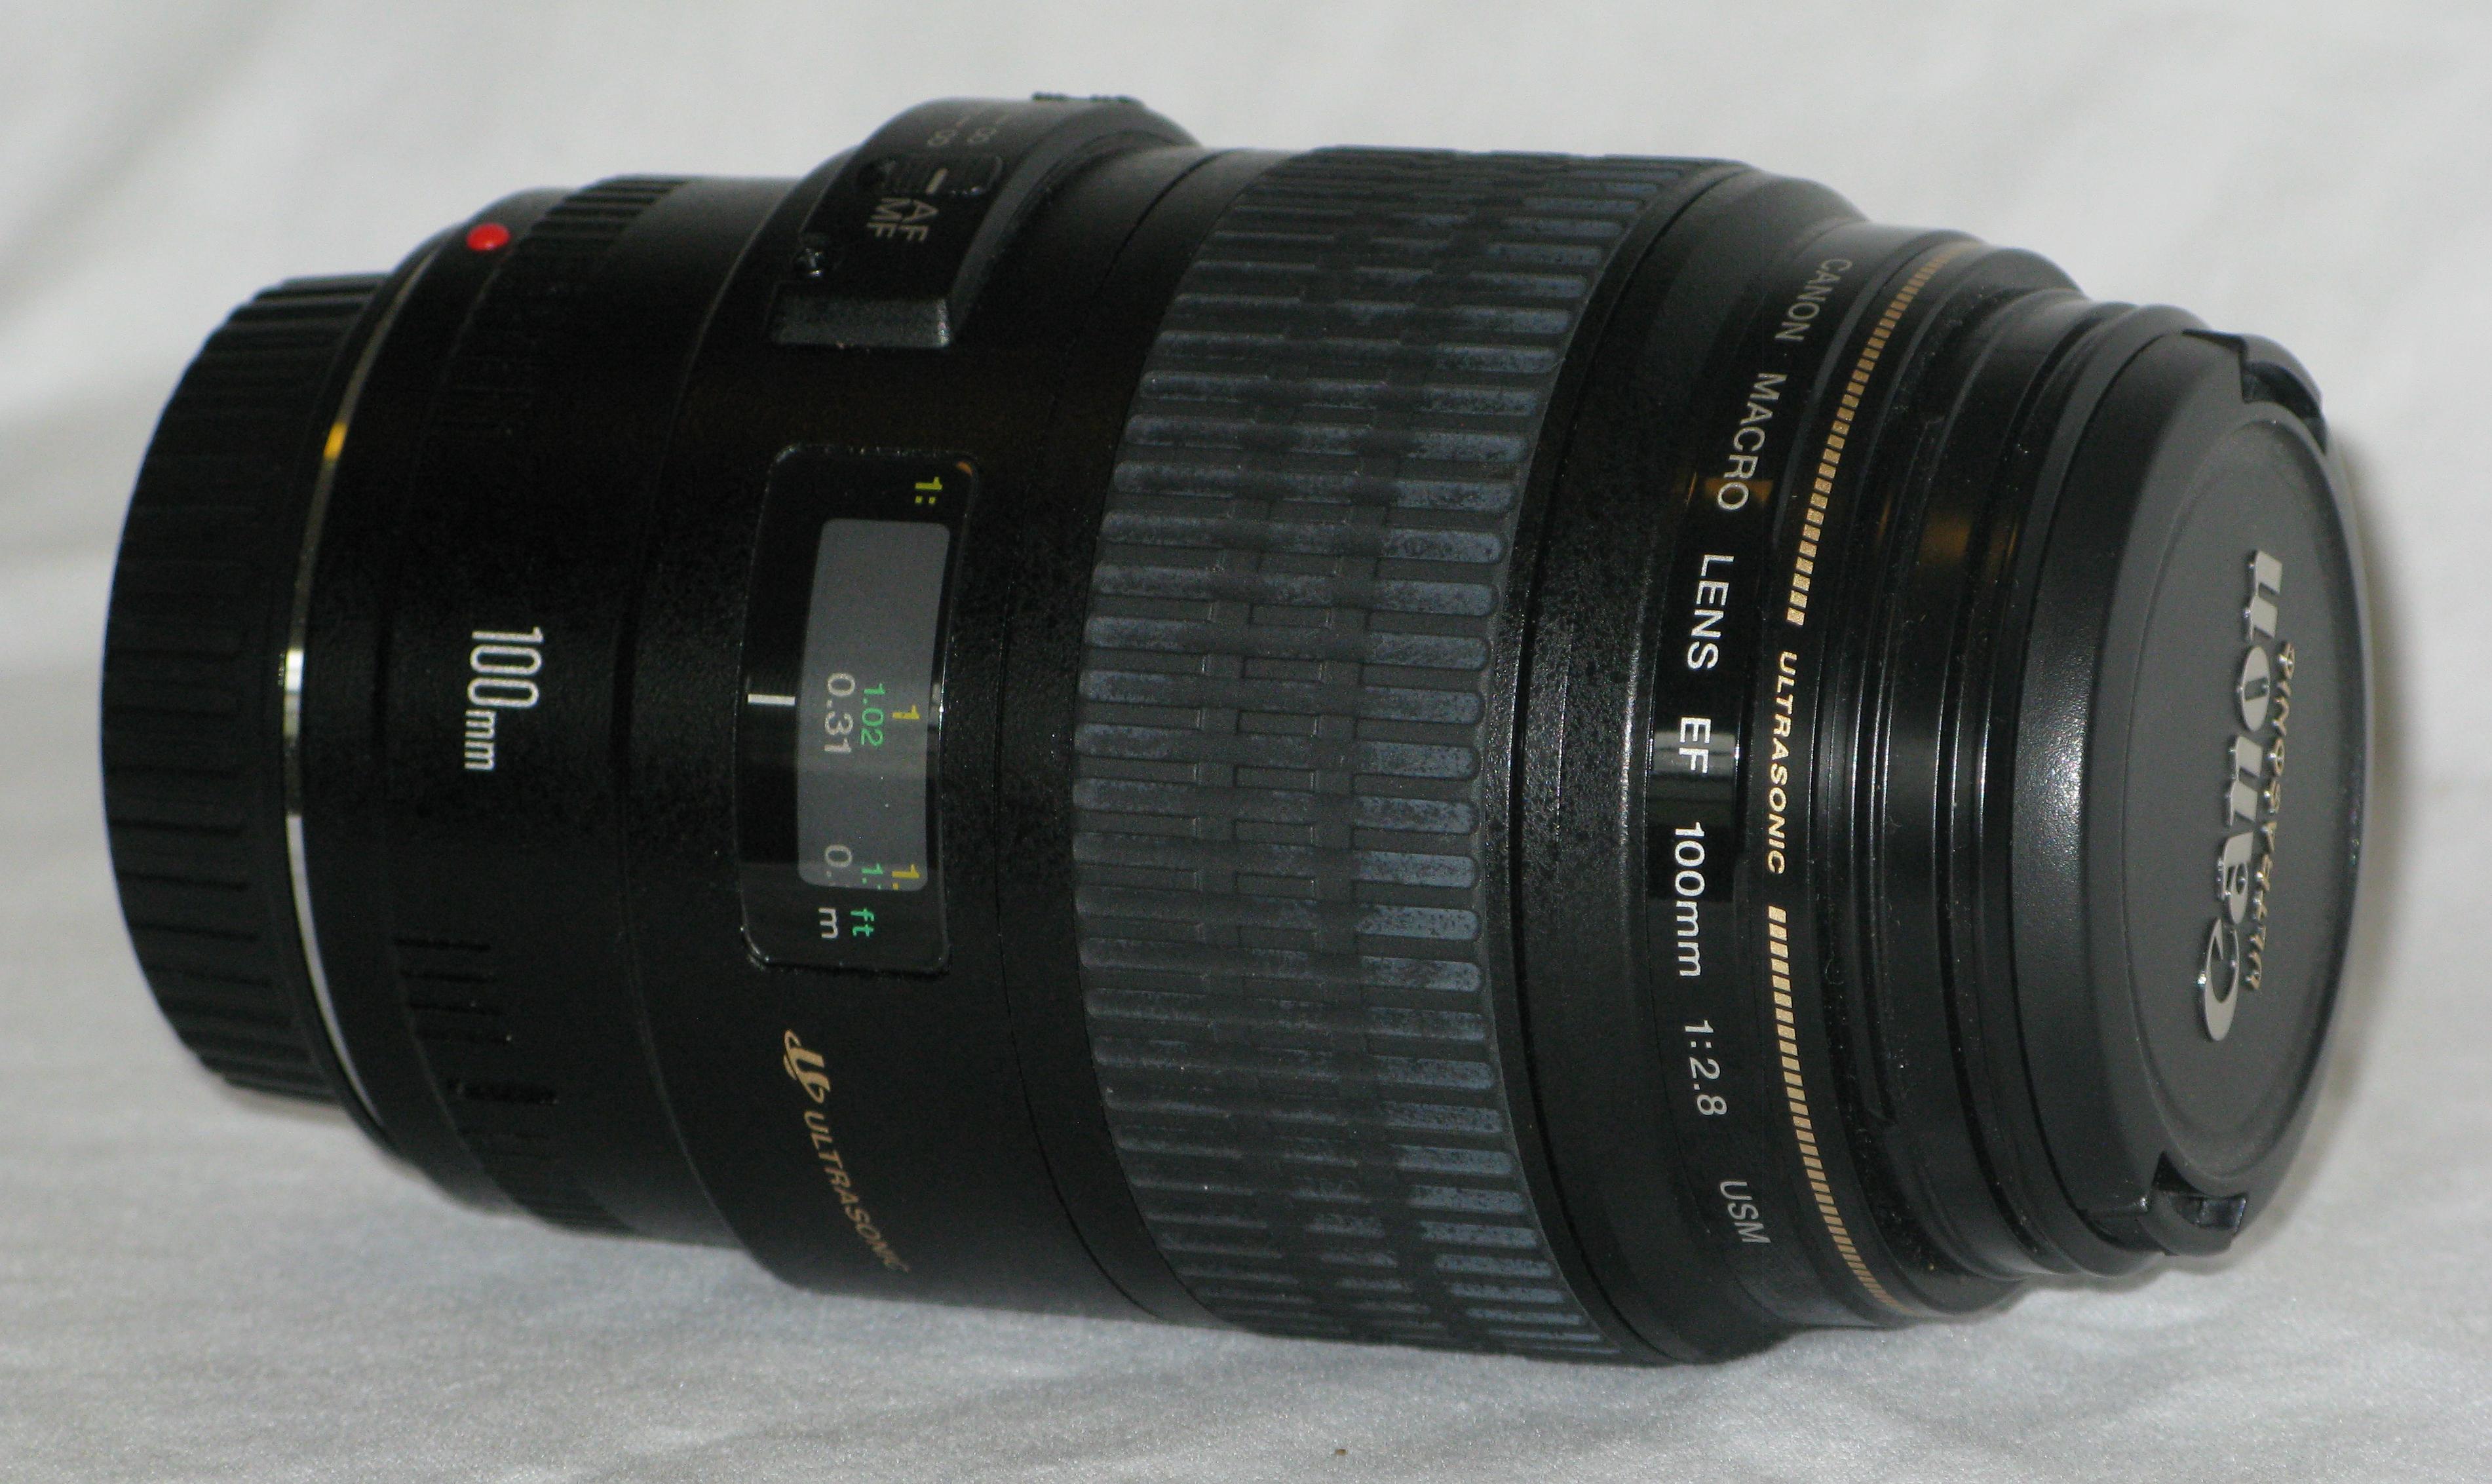
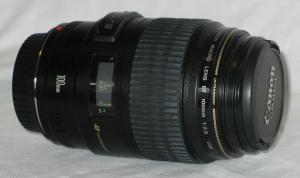 100mm Macro Lens
|
It is the lens that makes the image. We've all held a magnifying glass to focus an image of a window against a wall. The camera lens works exactly the same way.
This lens provides magnification up to 1:1 (one-to-one). The image projected onto the sensor is the same size as the item. At that magnification a quarter will nearly fill the image. That image can then be blown up to about nine inches.
|
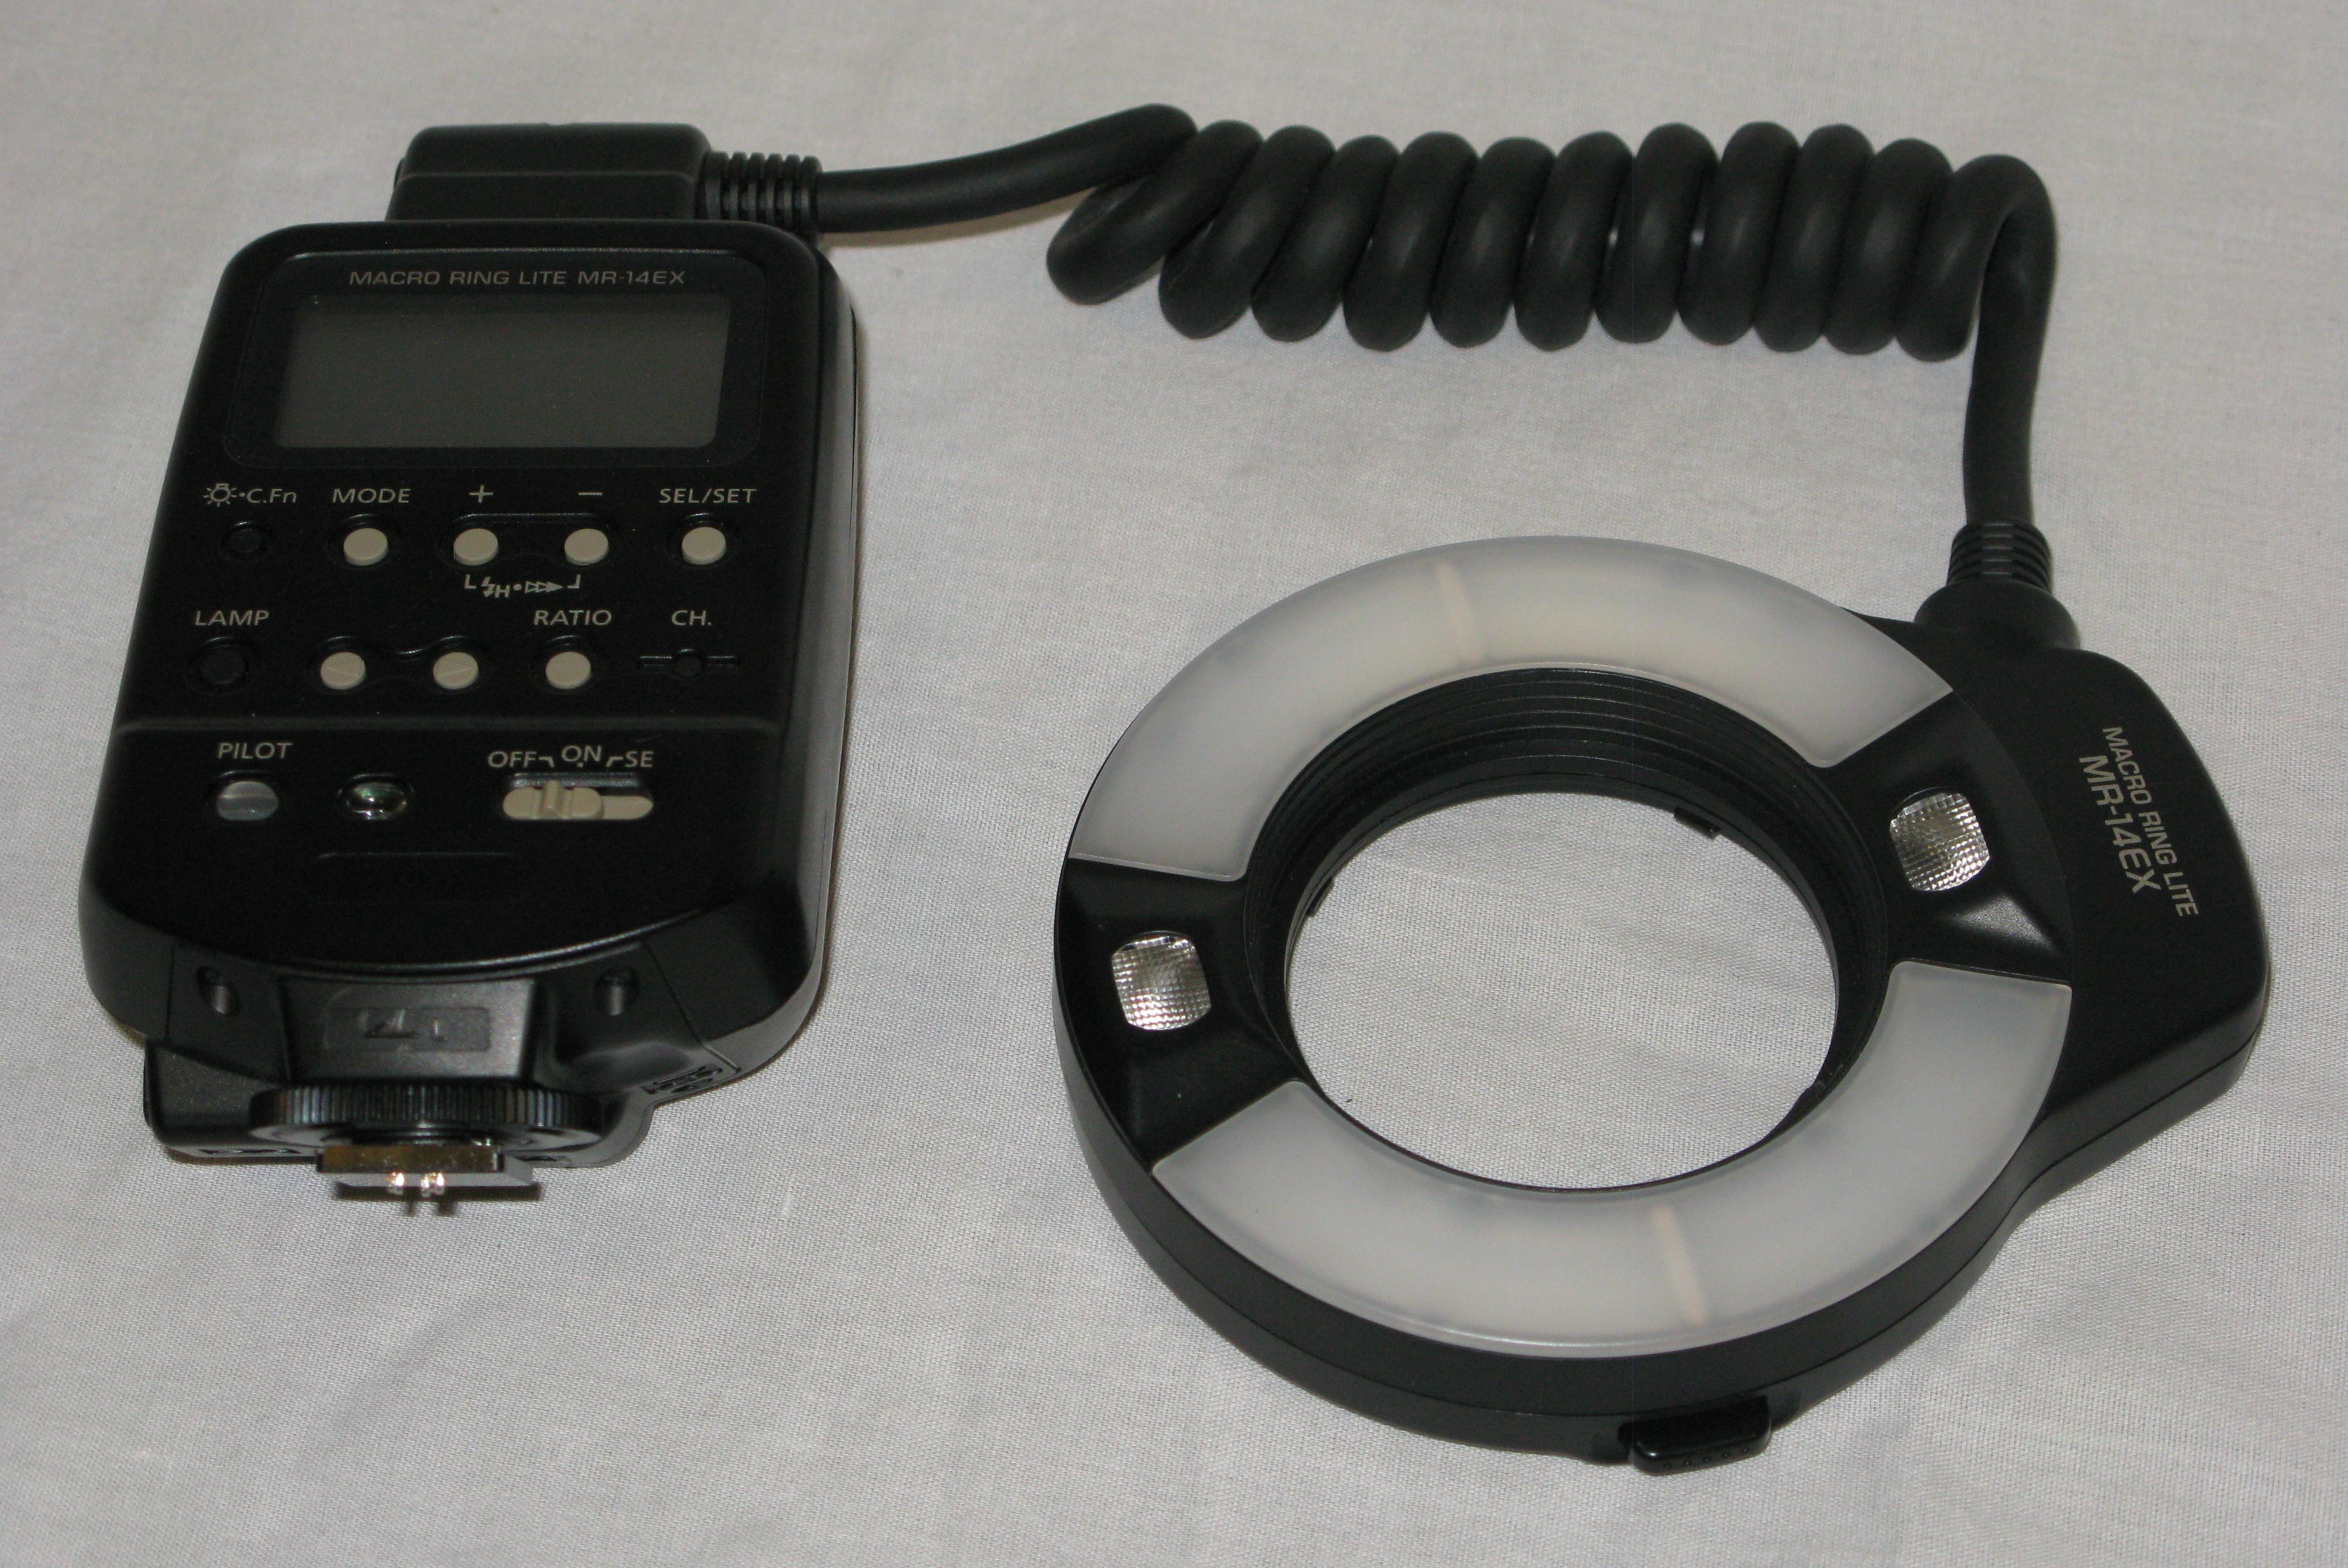
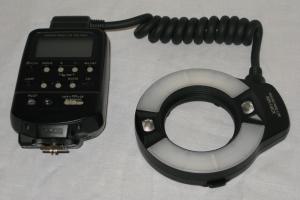 Canon Macro Ring Lite MR-14EX.
|
The Canon Macro Ring Lite MR-14EX provides even elumination that comes from almost directly above the item. The ring is attached to the end of the lens, and the controller is attached to the camera's hot shoe (flash mount on the top of the camera).
The flashbulbs are behind the white arcs on the ring. The small windows on the ring hold lights that can be used while focusing.
|
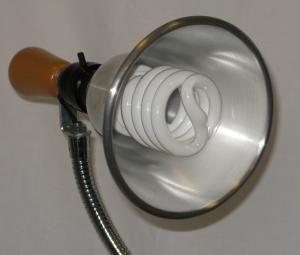 Side Lights.
|
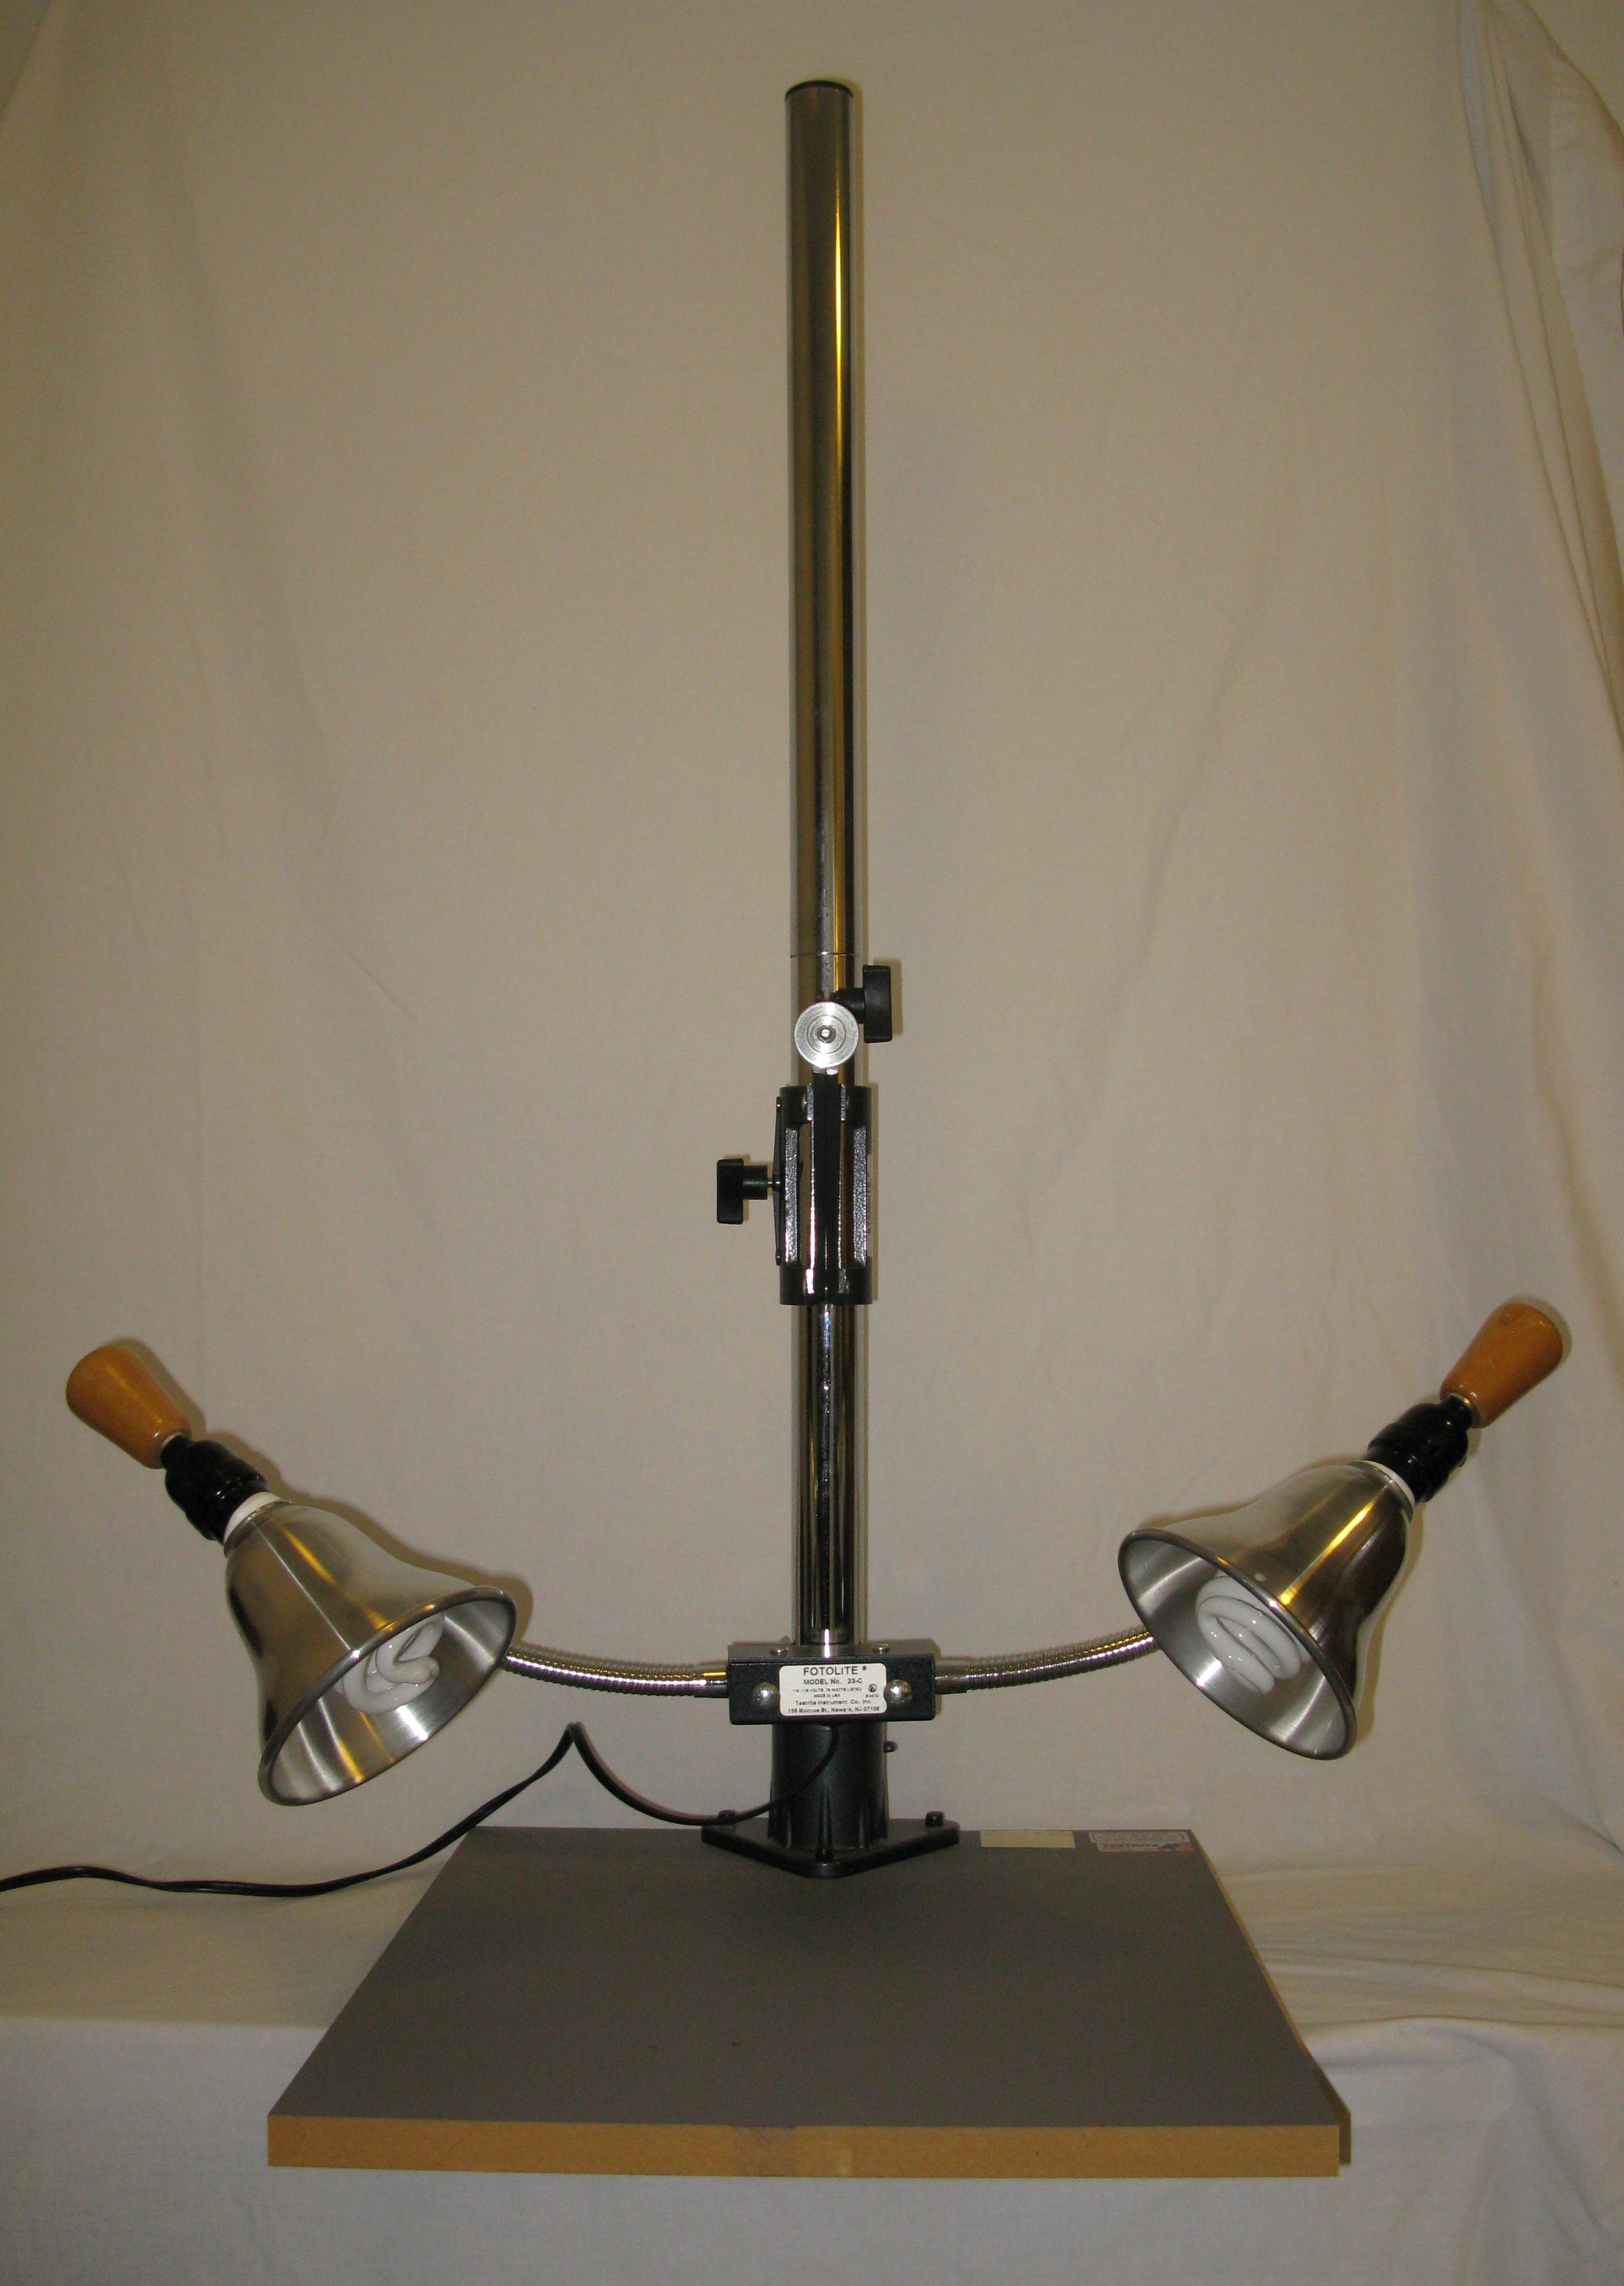
The copy stand provides two side lights. These lights use standard bulbs and provide continuous, somewhat diffuse light from lower angles.
|
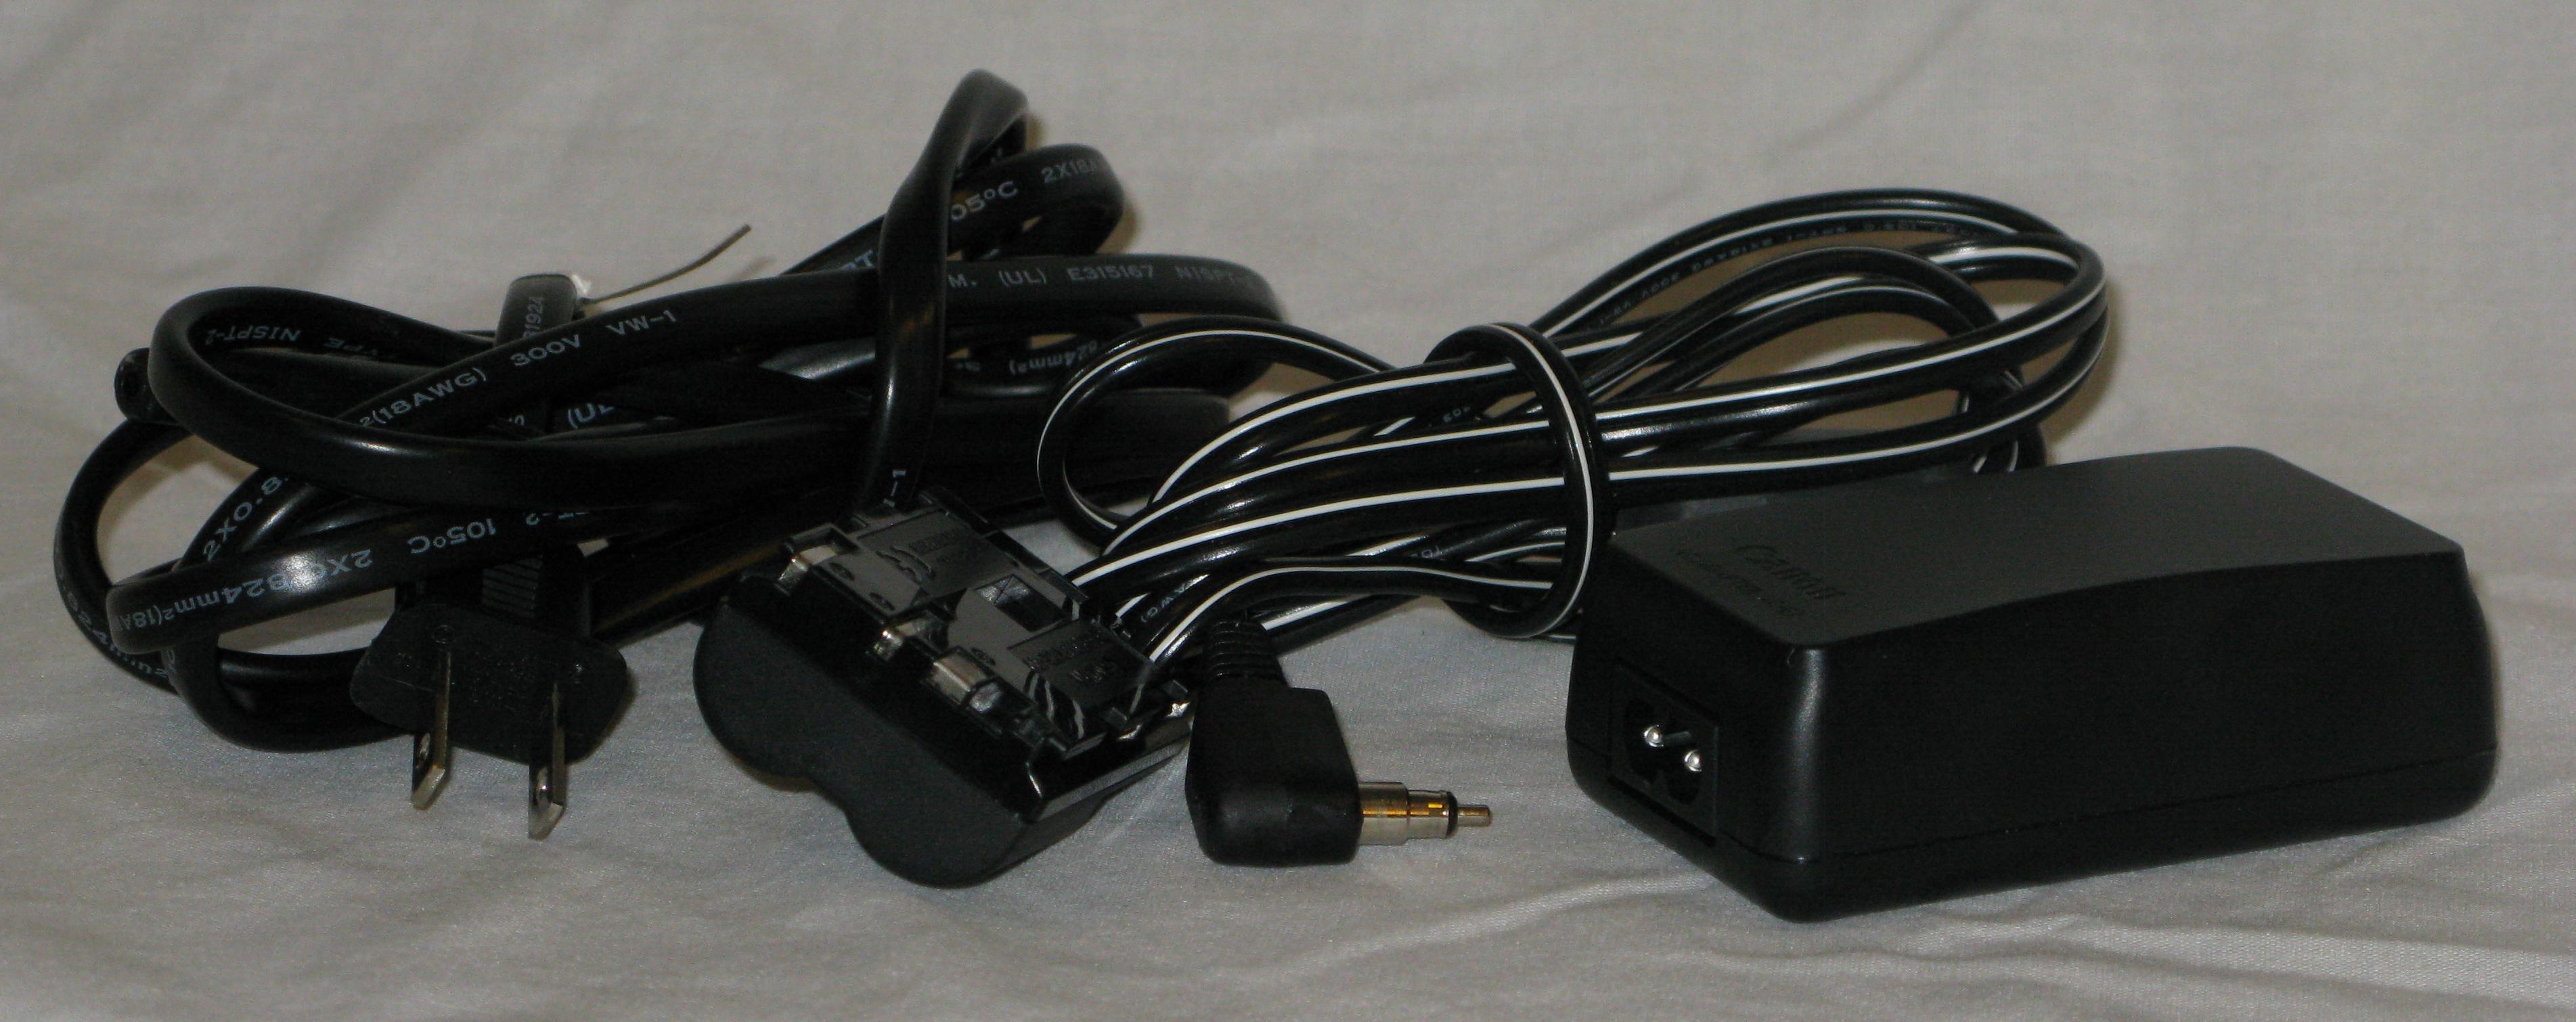
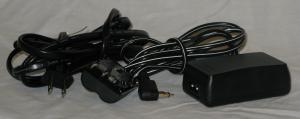 Canon DS8111 Power Adapter
|
The Canon DS8111 Power Adapter provides power for the camera. I would often go through several batteries for a session. The power adapter, being plugged into the wall, never runs out of power.
|
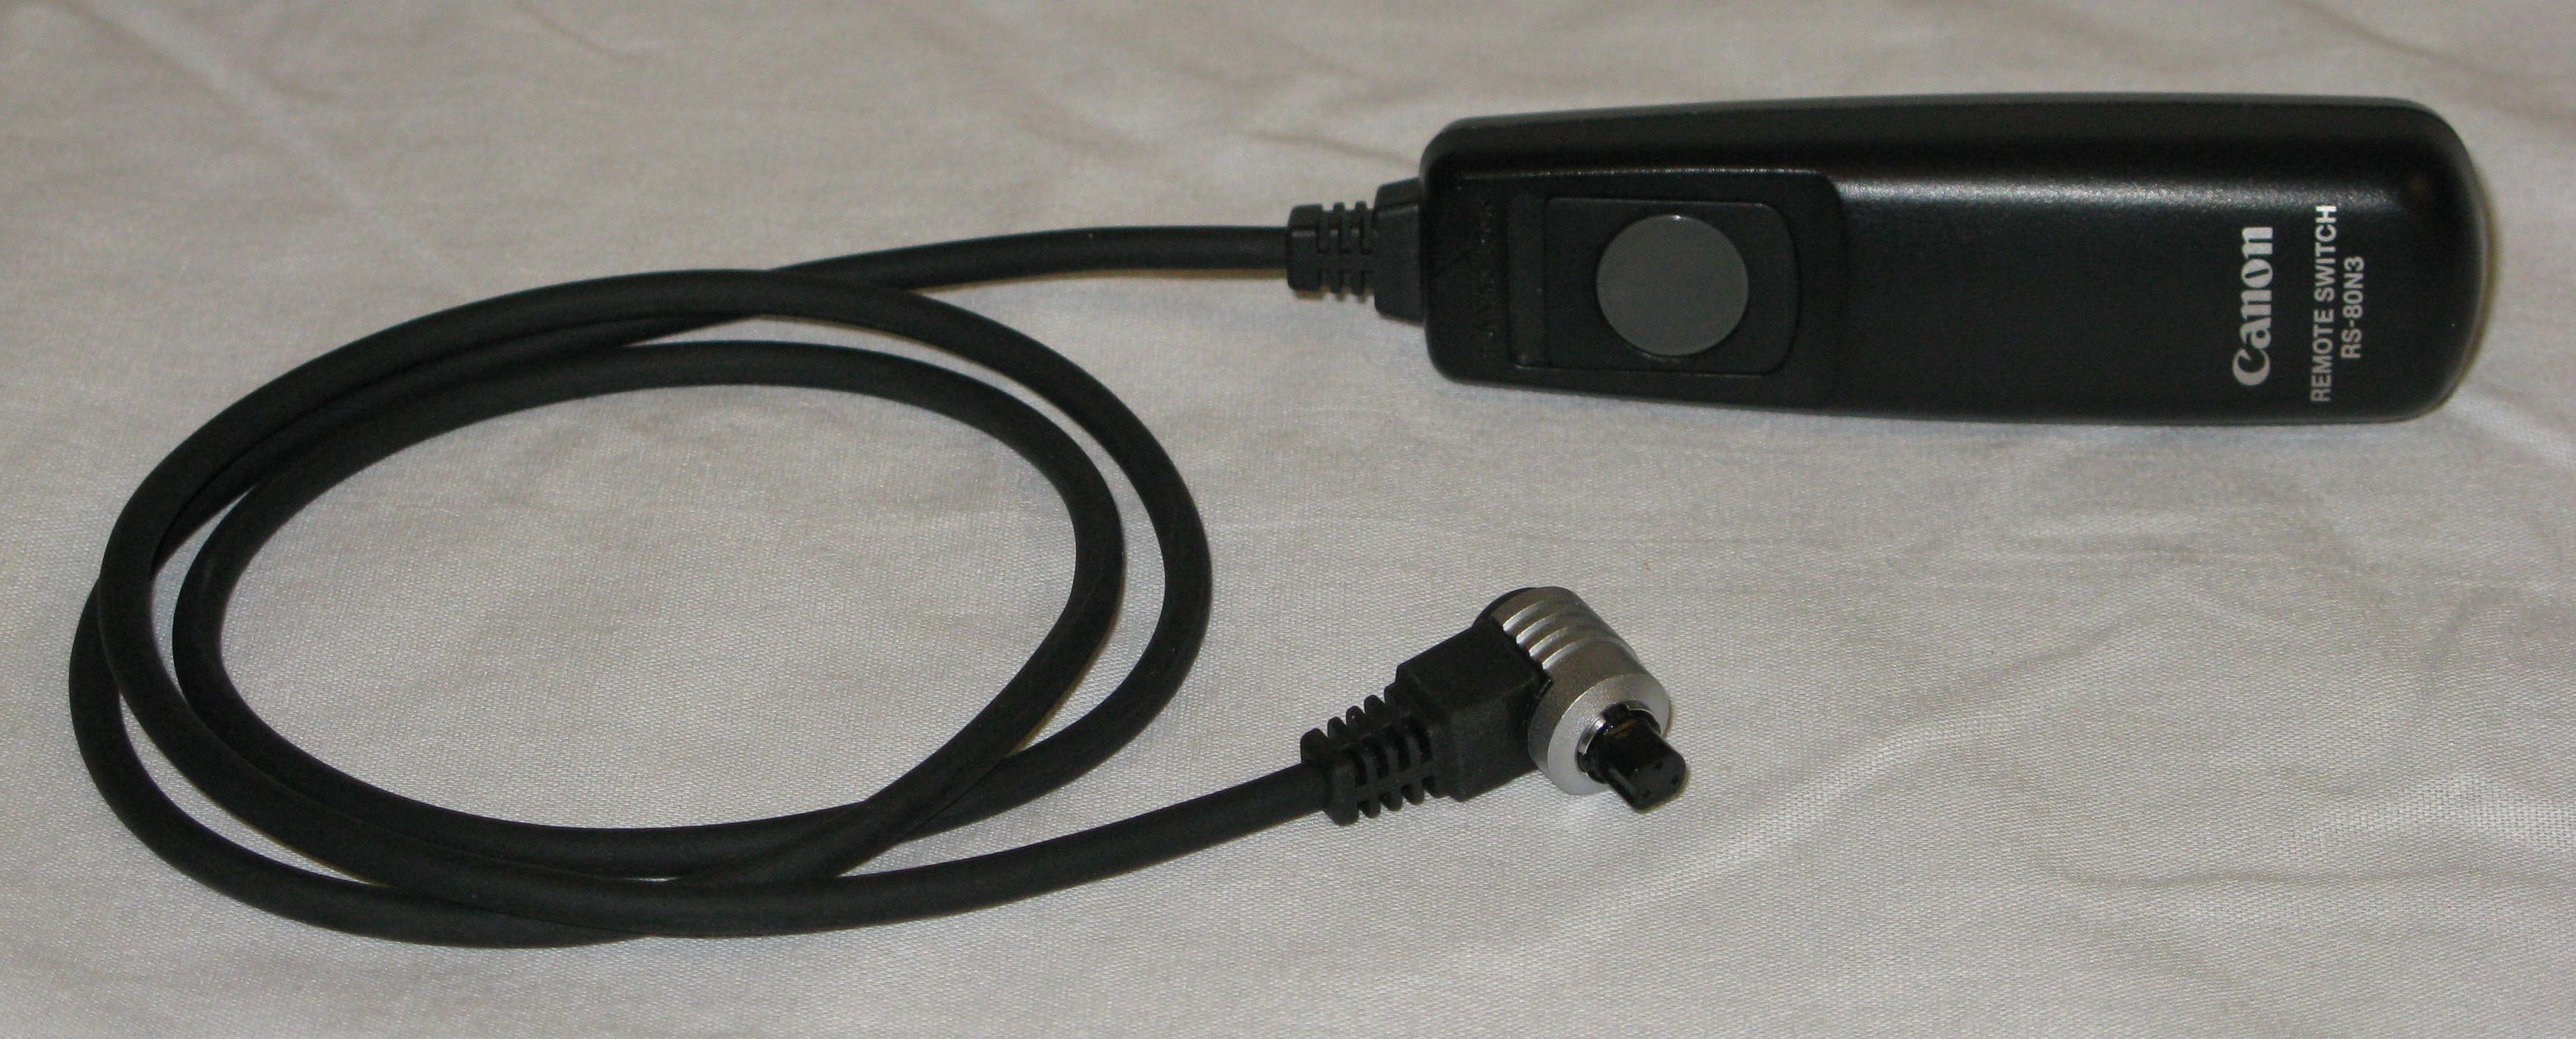
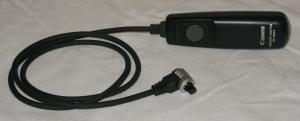 Canon RS-80N3 Remote Switch.
|
The Canon RS-80N3 Remote Switch allows for triggering a photo without touching the camera. When making longer exposures the shaking caused by pressing the camera's button causes obvious blur in the image.
|
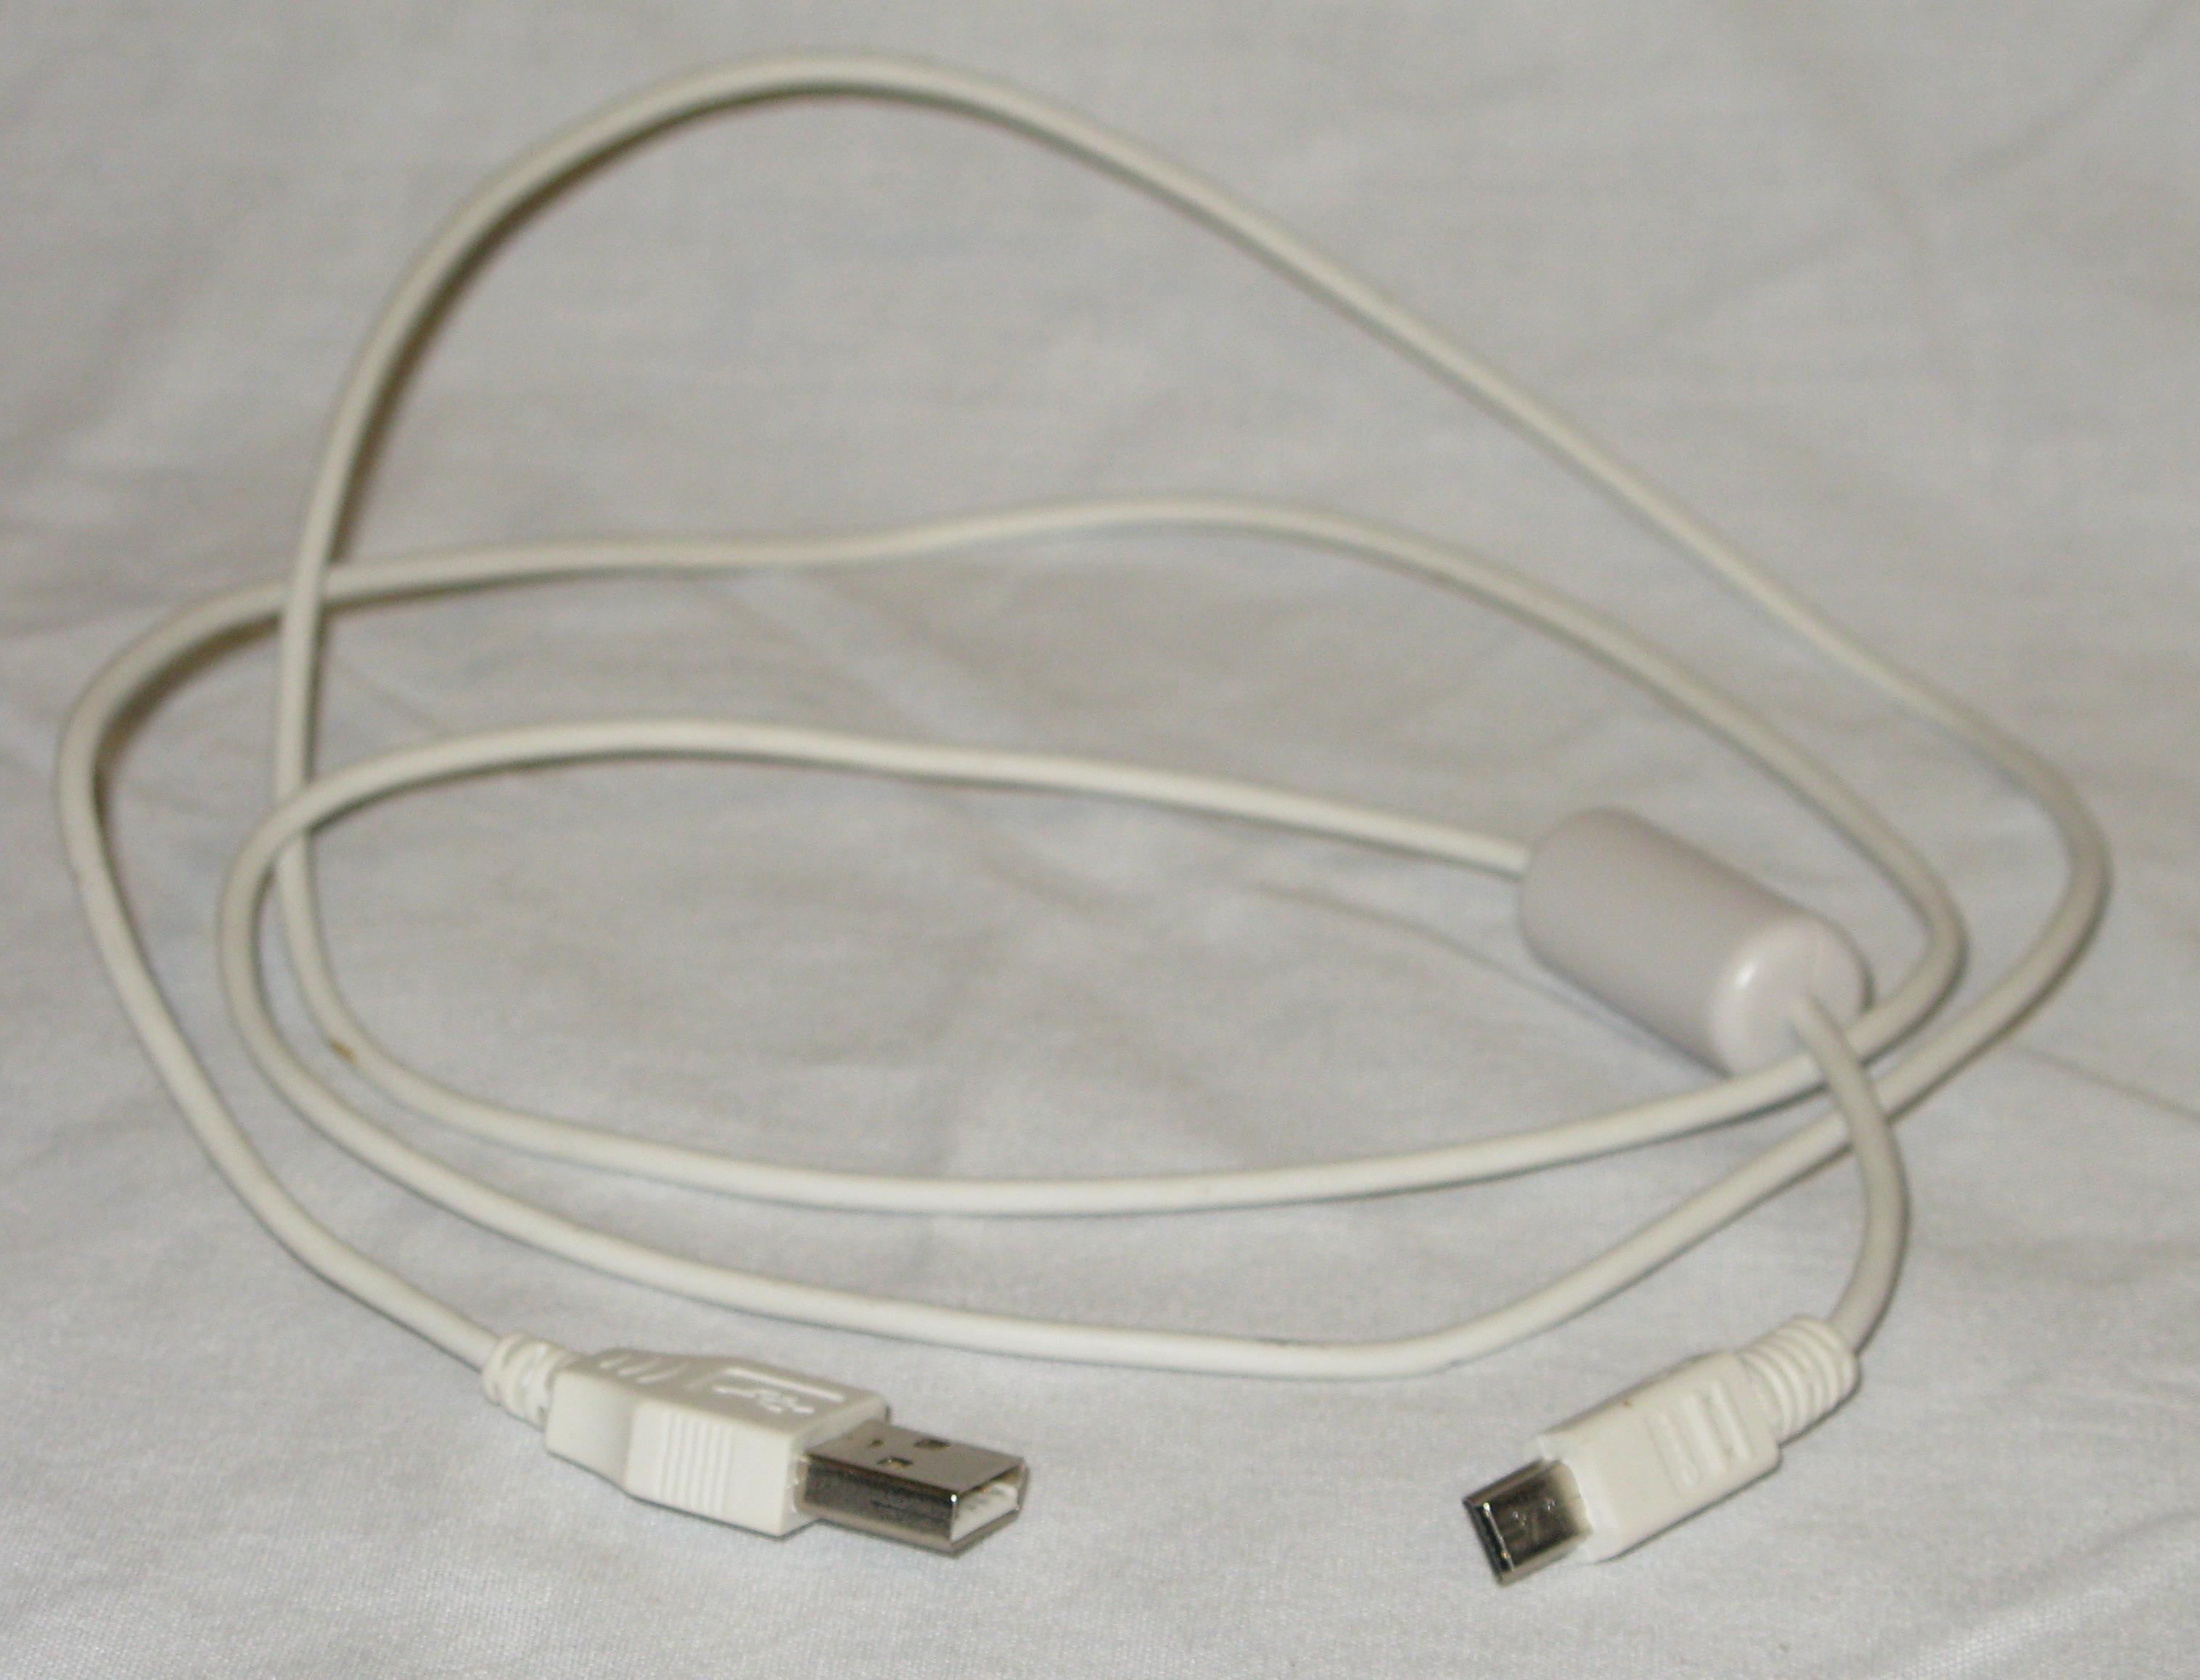
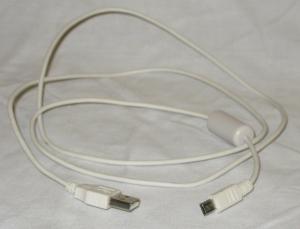 USB Cable
|
The USB Cable is a standard cable with a mini plug for the camera end. The software from Canon uses communicates with the camera through this cable. This software controls the camera settings, triggers a photo, and downloads each image to the computer, and automatically displays it for review.
|