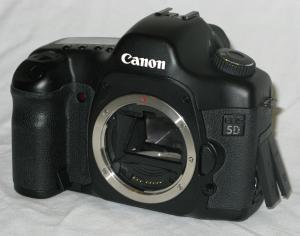
 Canon 5D Camera Body
|
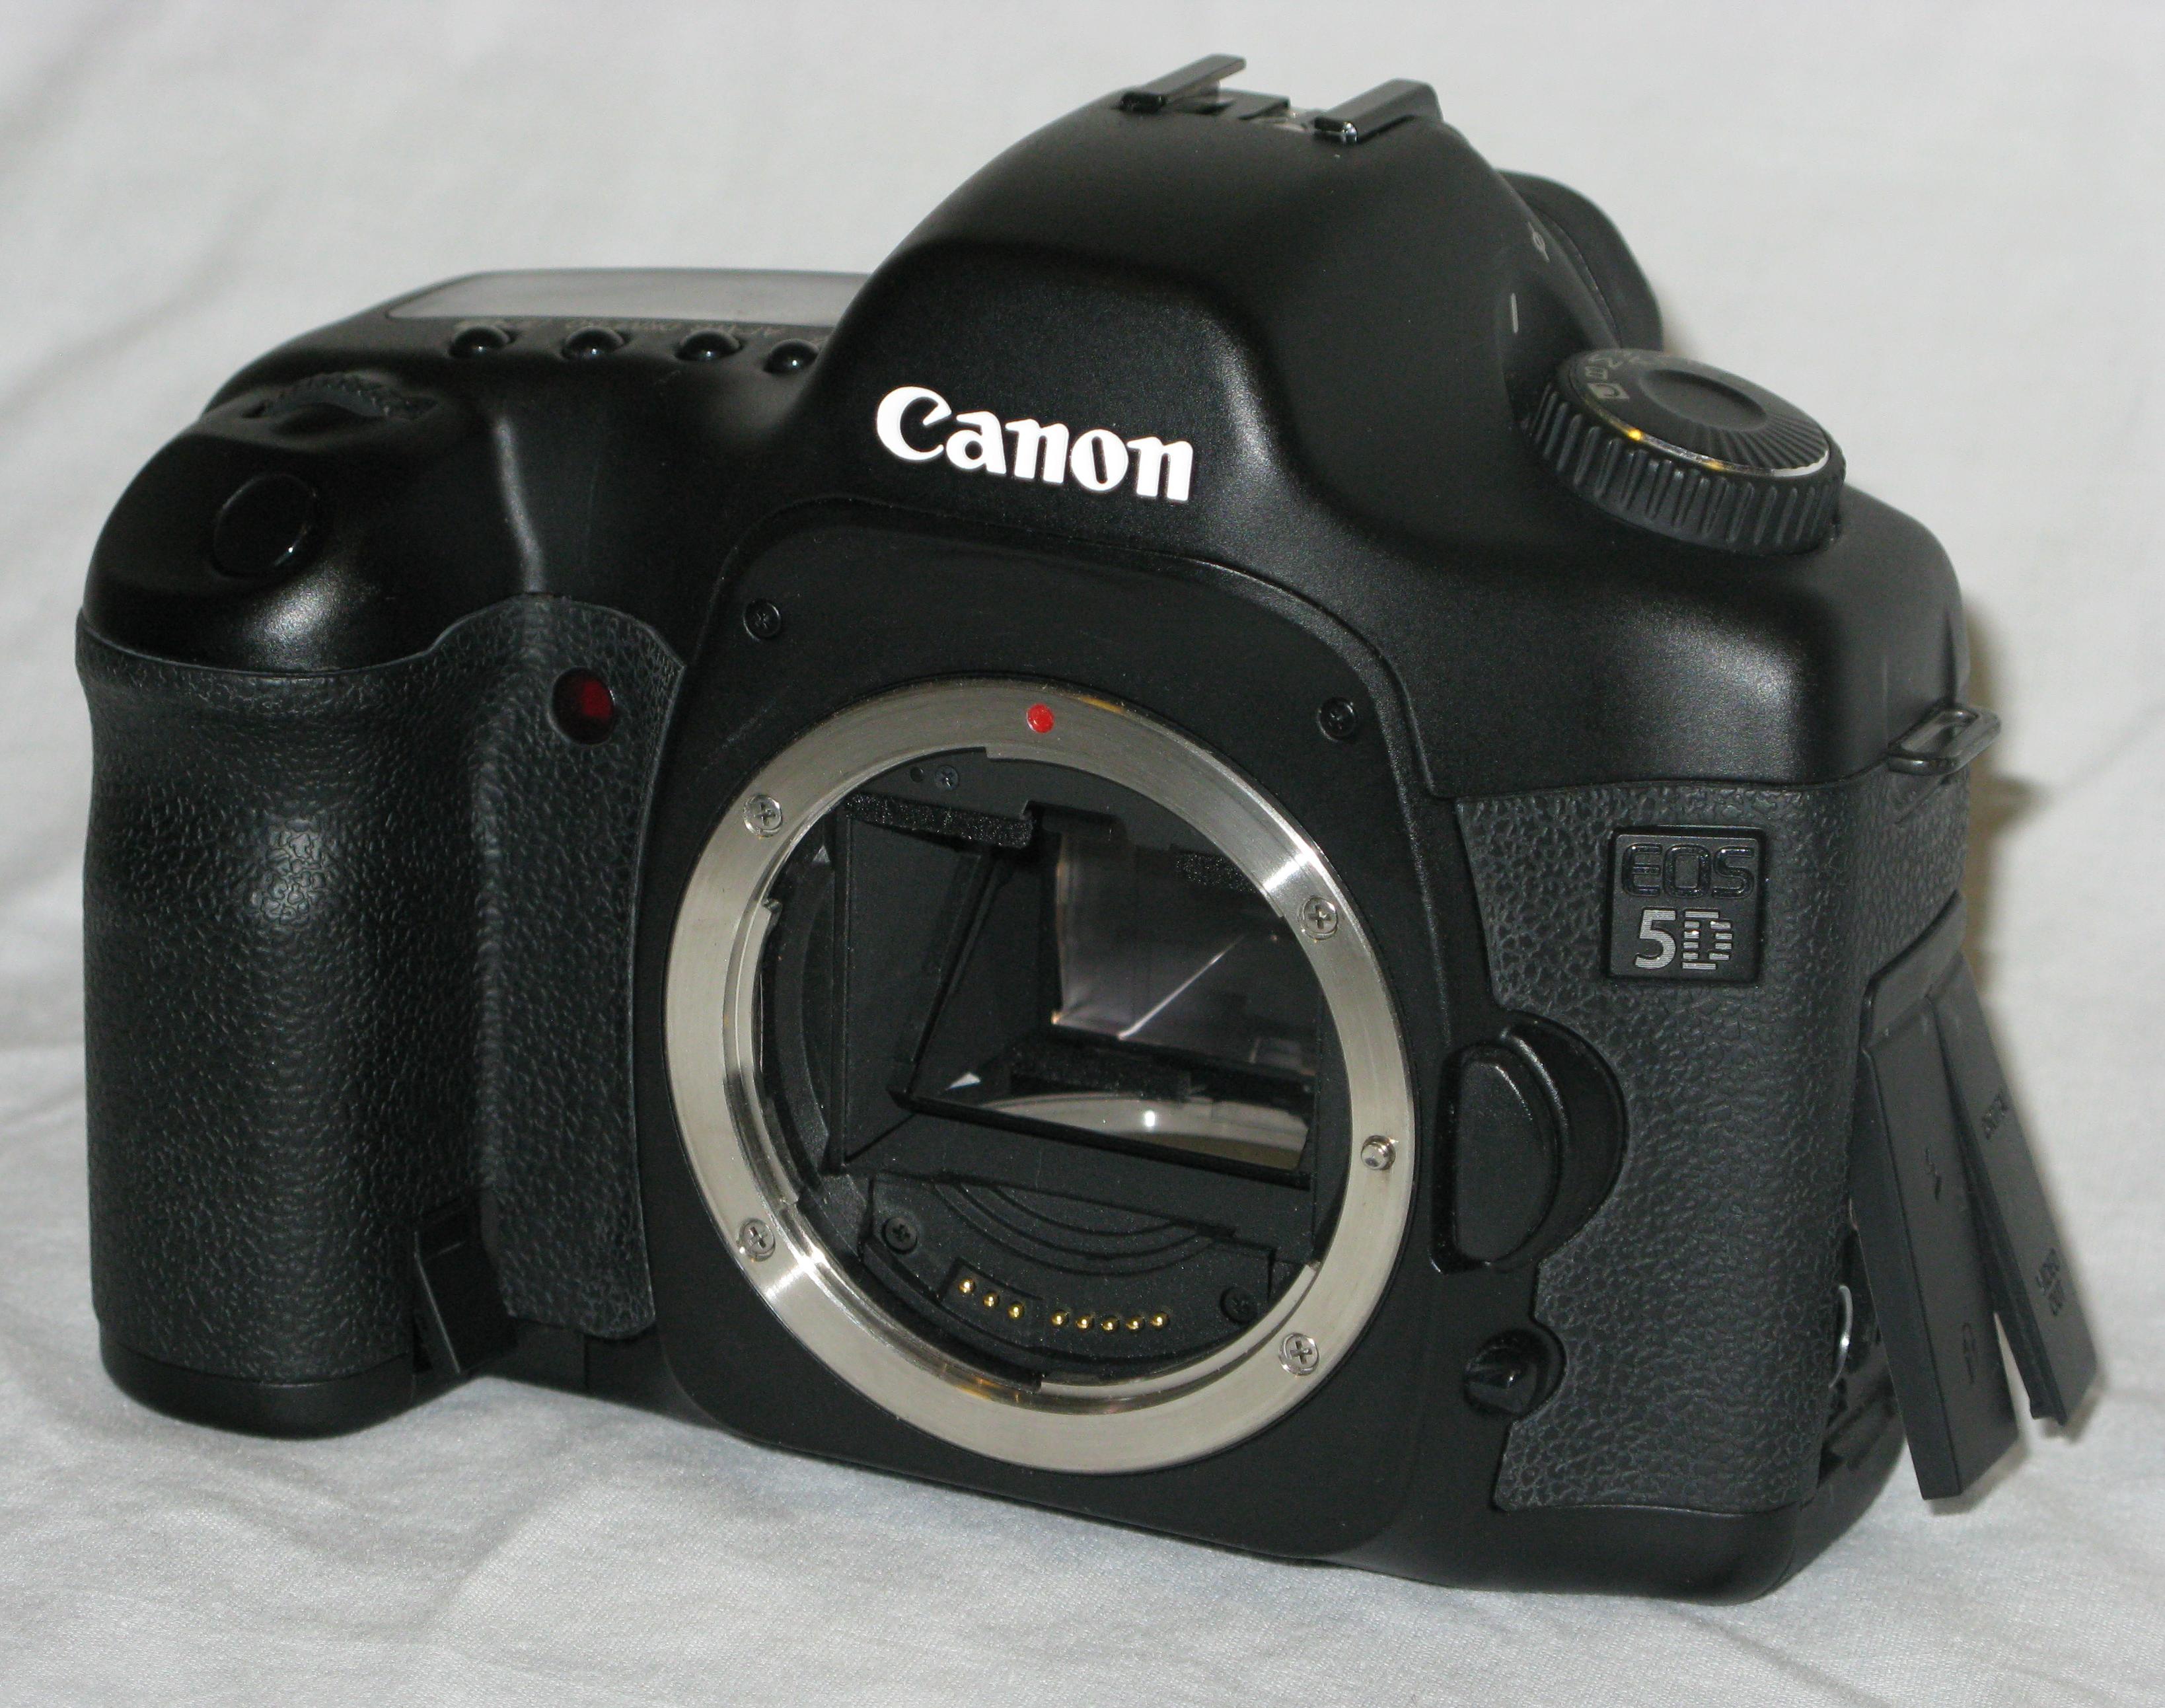
The Canon 5D is a digital camera with a full sized sensor. It is part of Canon's EOS family of camers and can use all the EOS lenses and accessories. This camera takes pictures with a maximum resolution of 4368x2912 pixels.
The Canon 5D can be connected to a computer using a USB cable. Using Canon's software the camera can be controlled from the computer. When a picture is taken it is automatically downloaded to the computer and displayed. This gives you immediate feedback and the picture can be retaken if needed.
|
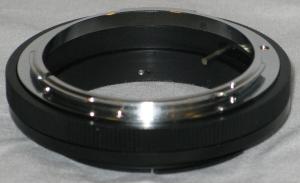 EOS to FD Adapter
|
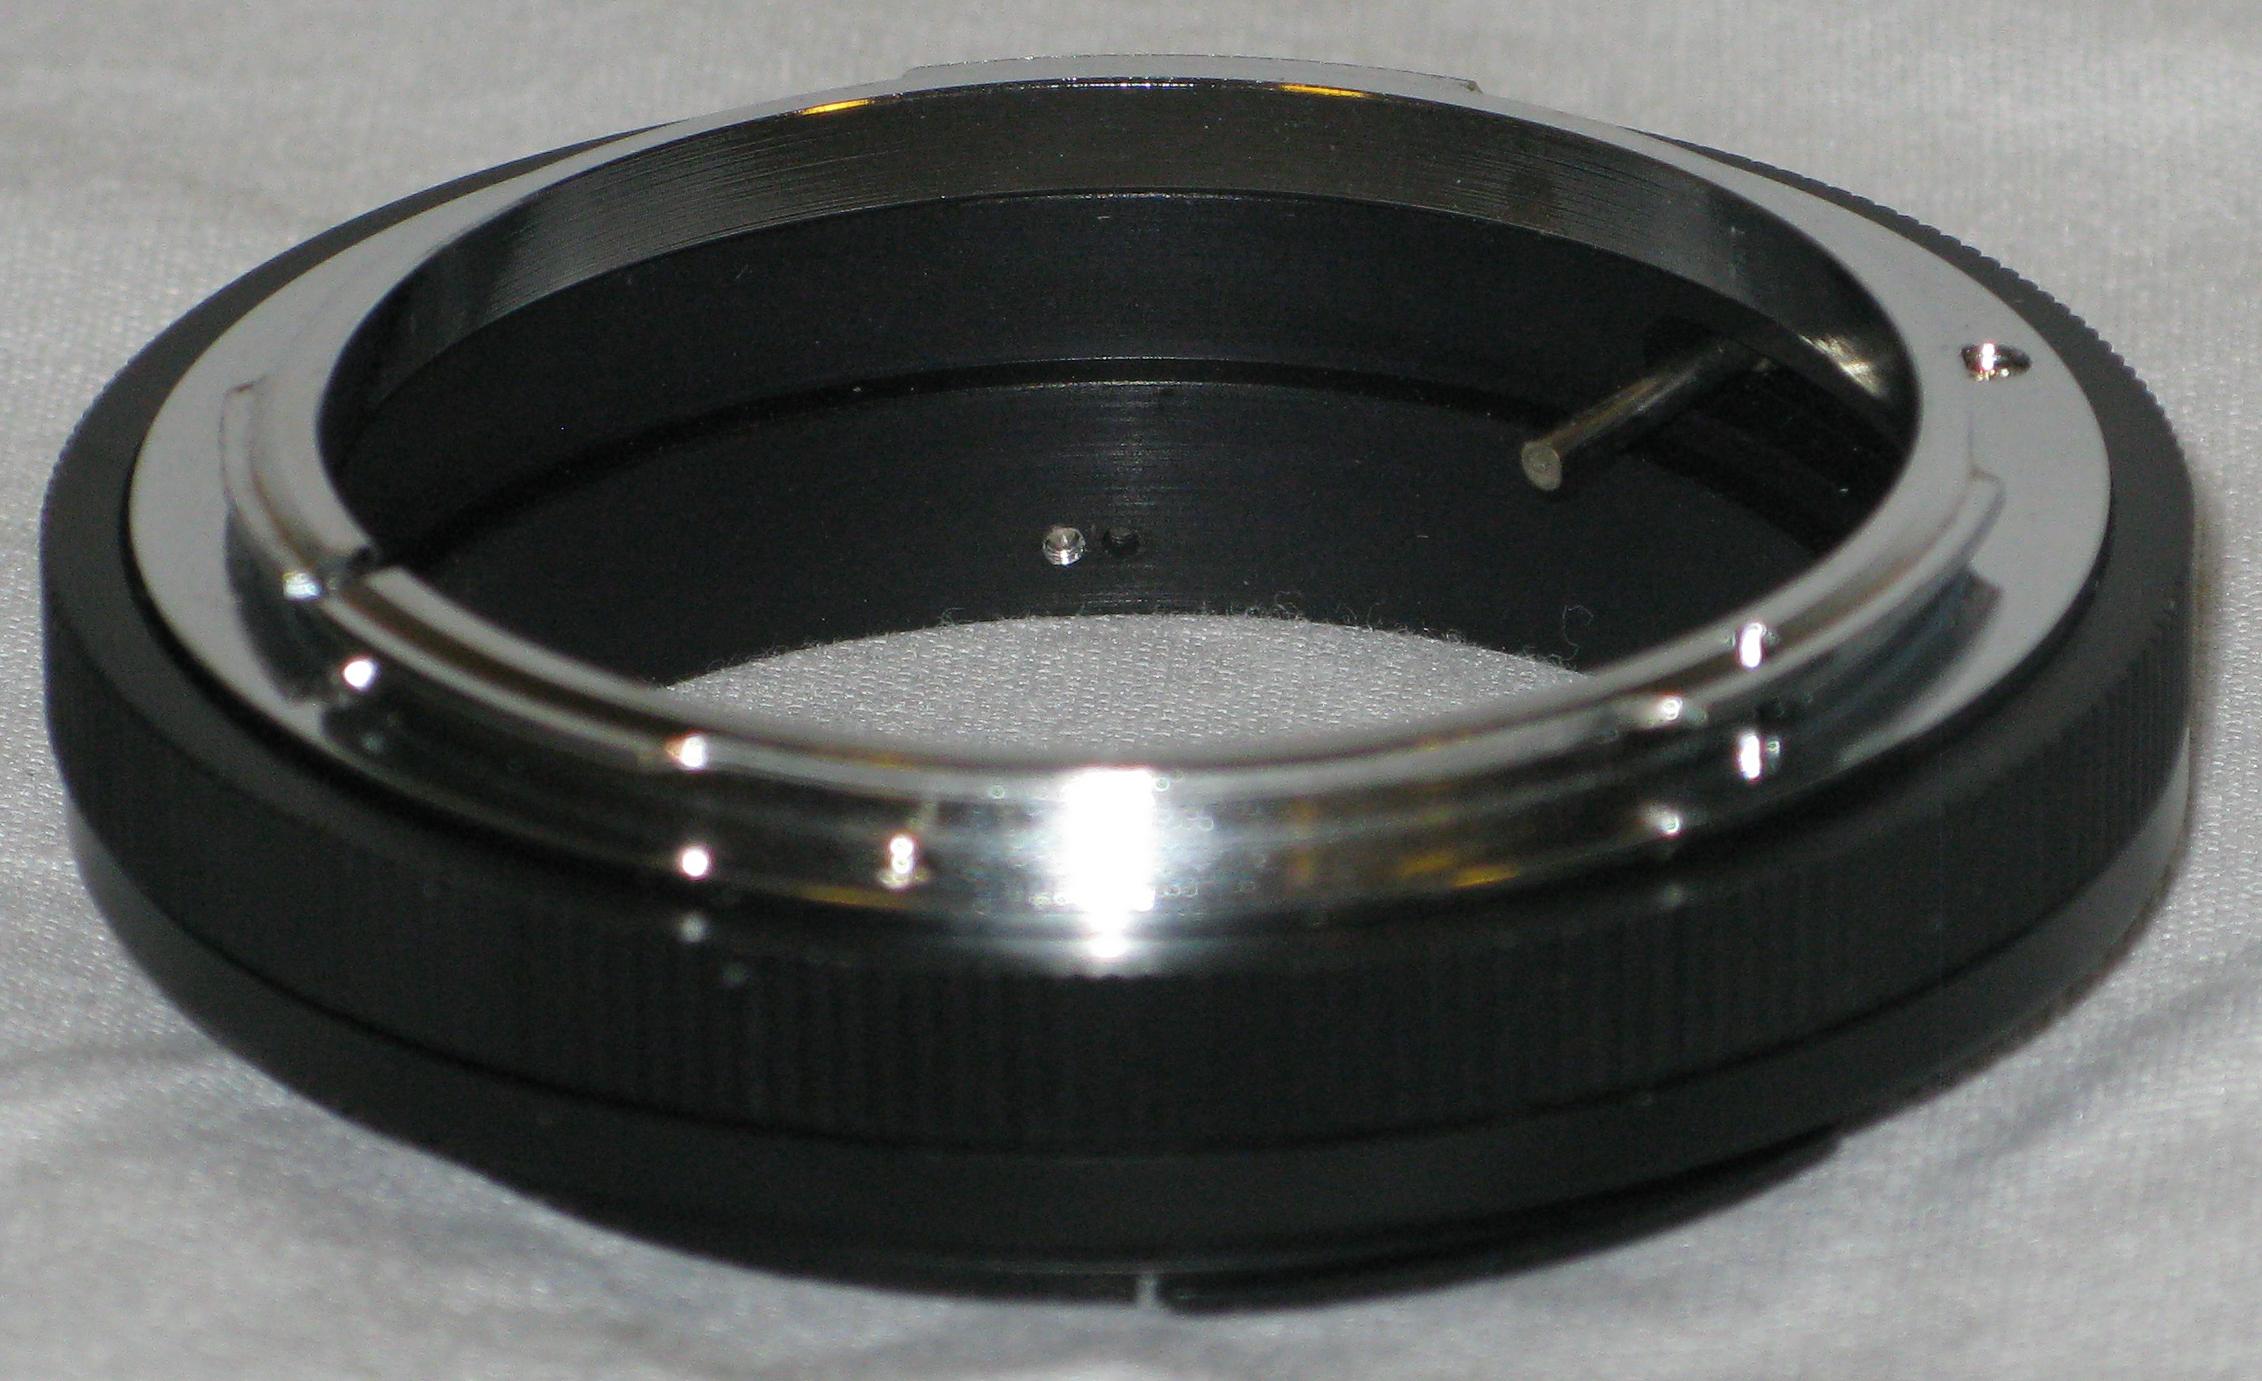
This adapter connects an EOS camera body to an FD lens or accessory.
The accessories created for the EOS family of cameras is very good (according to reviews I've read) and very expensive. Using an appropriate adapter older accessories and lenses made for the Canon FD family of cameras can be used. The downside to using FD accessories is the lack of the advanced features of the EOS family. You will have to manually focus and set the aperture on the lens.
Used FD lenses and accessories are generally inexpensive and can usually be found on eBay.
In this photo the FD side is facing up.
|
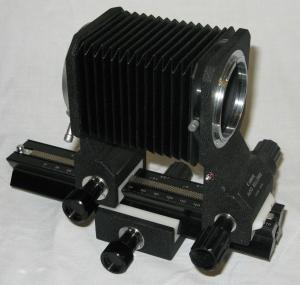 Canon Auto Bellows
|
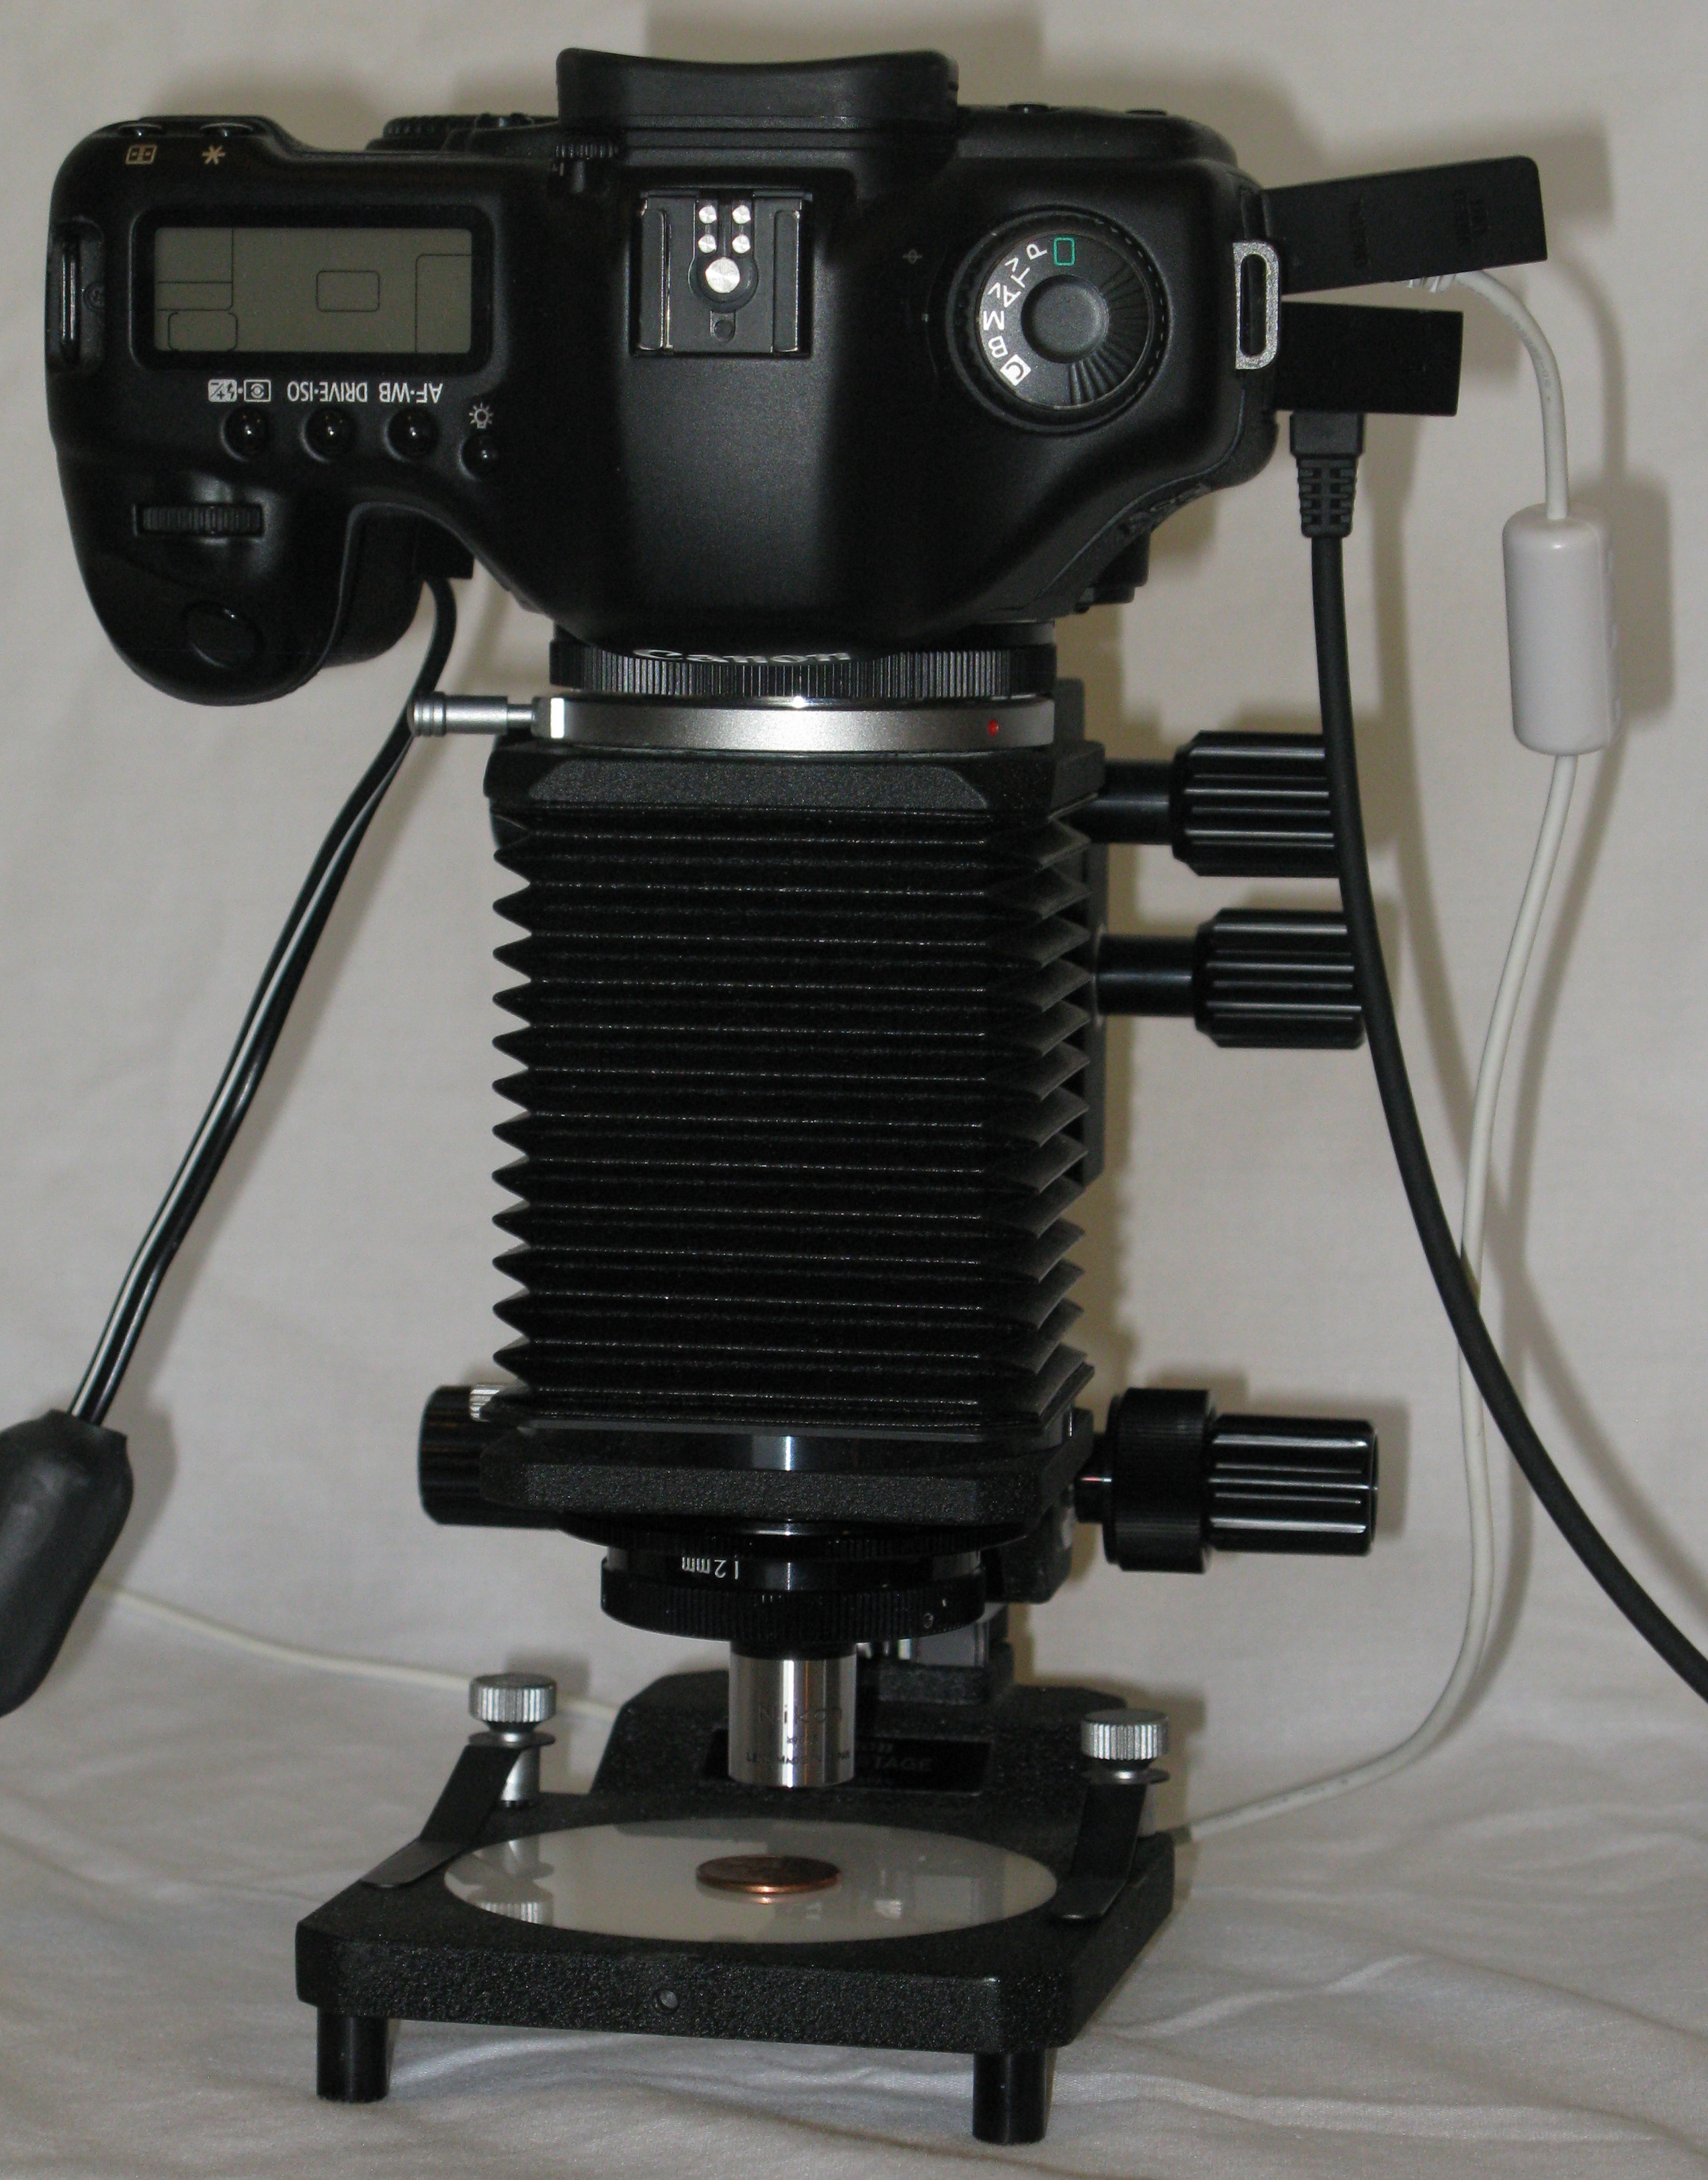
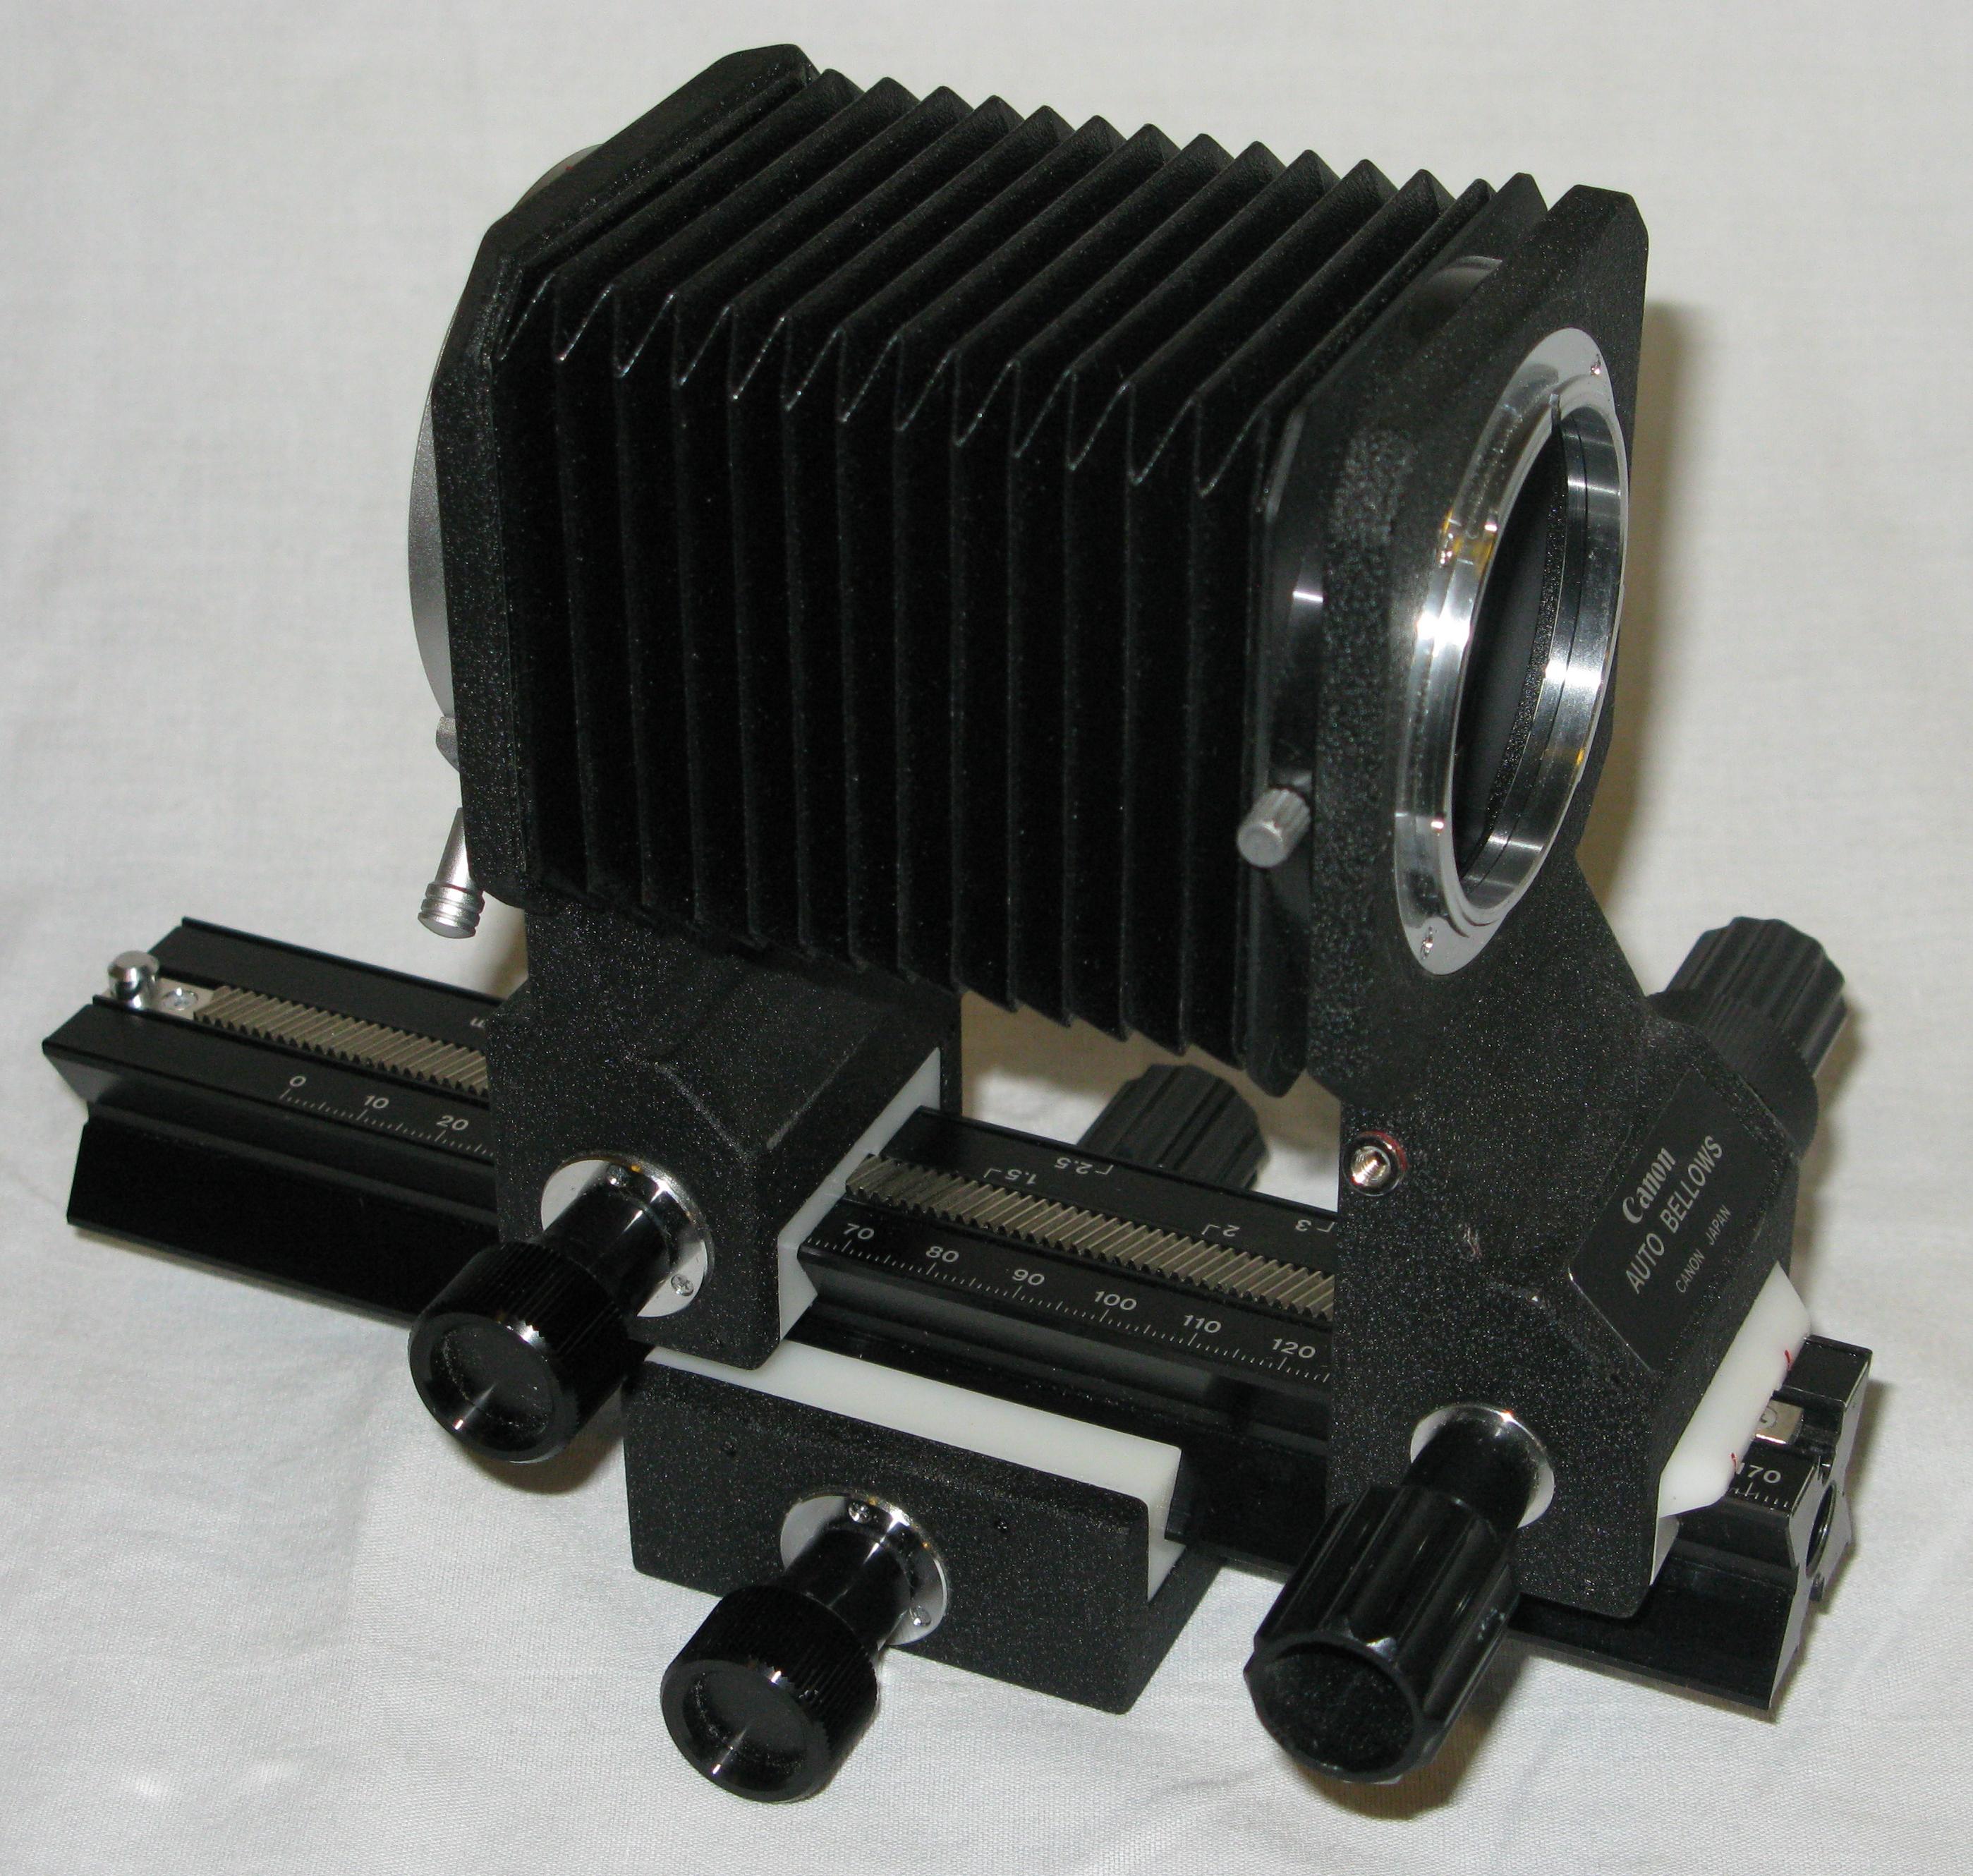
The bellows is essentially an adjustable tube that holds the lens in front of the camera. The camera is mounted at the back of the bellows and the lens is mounted on the front. The camera and lens are moved along a rail to adjust magnification and focus.
The camera is moved by turning the wheel attached to the back mount. This raises and lowers the camera without moving the lens relative to the target. This adjusts the magnification.
The lens is moved by turning the wheel attached to the front mount. This raises and lowers the lens without moving the camera ralative to the target. This adjusts the focus.
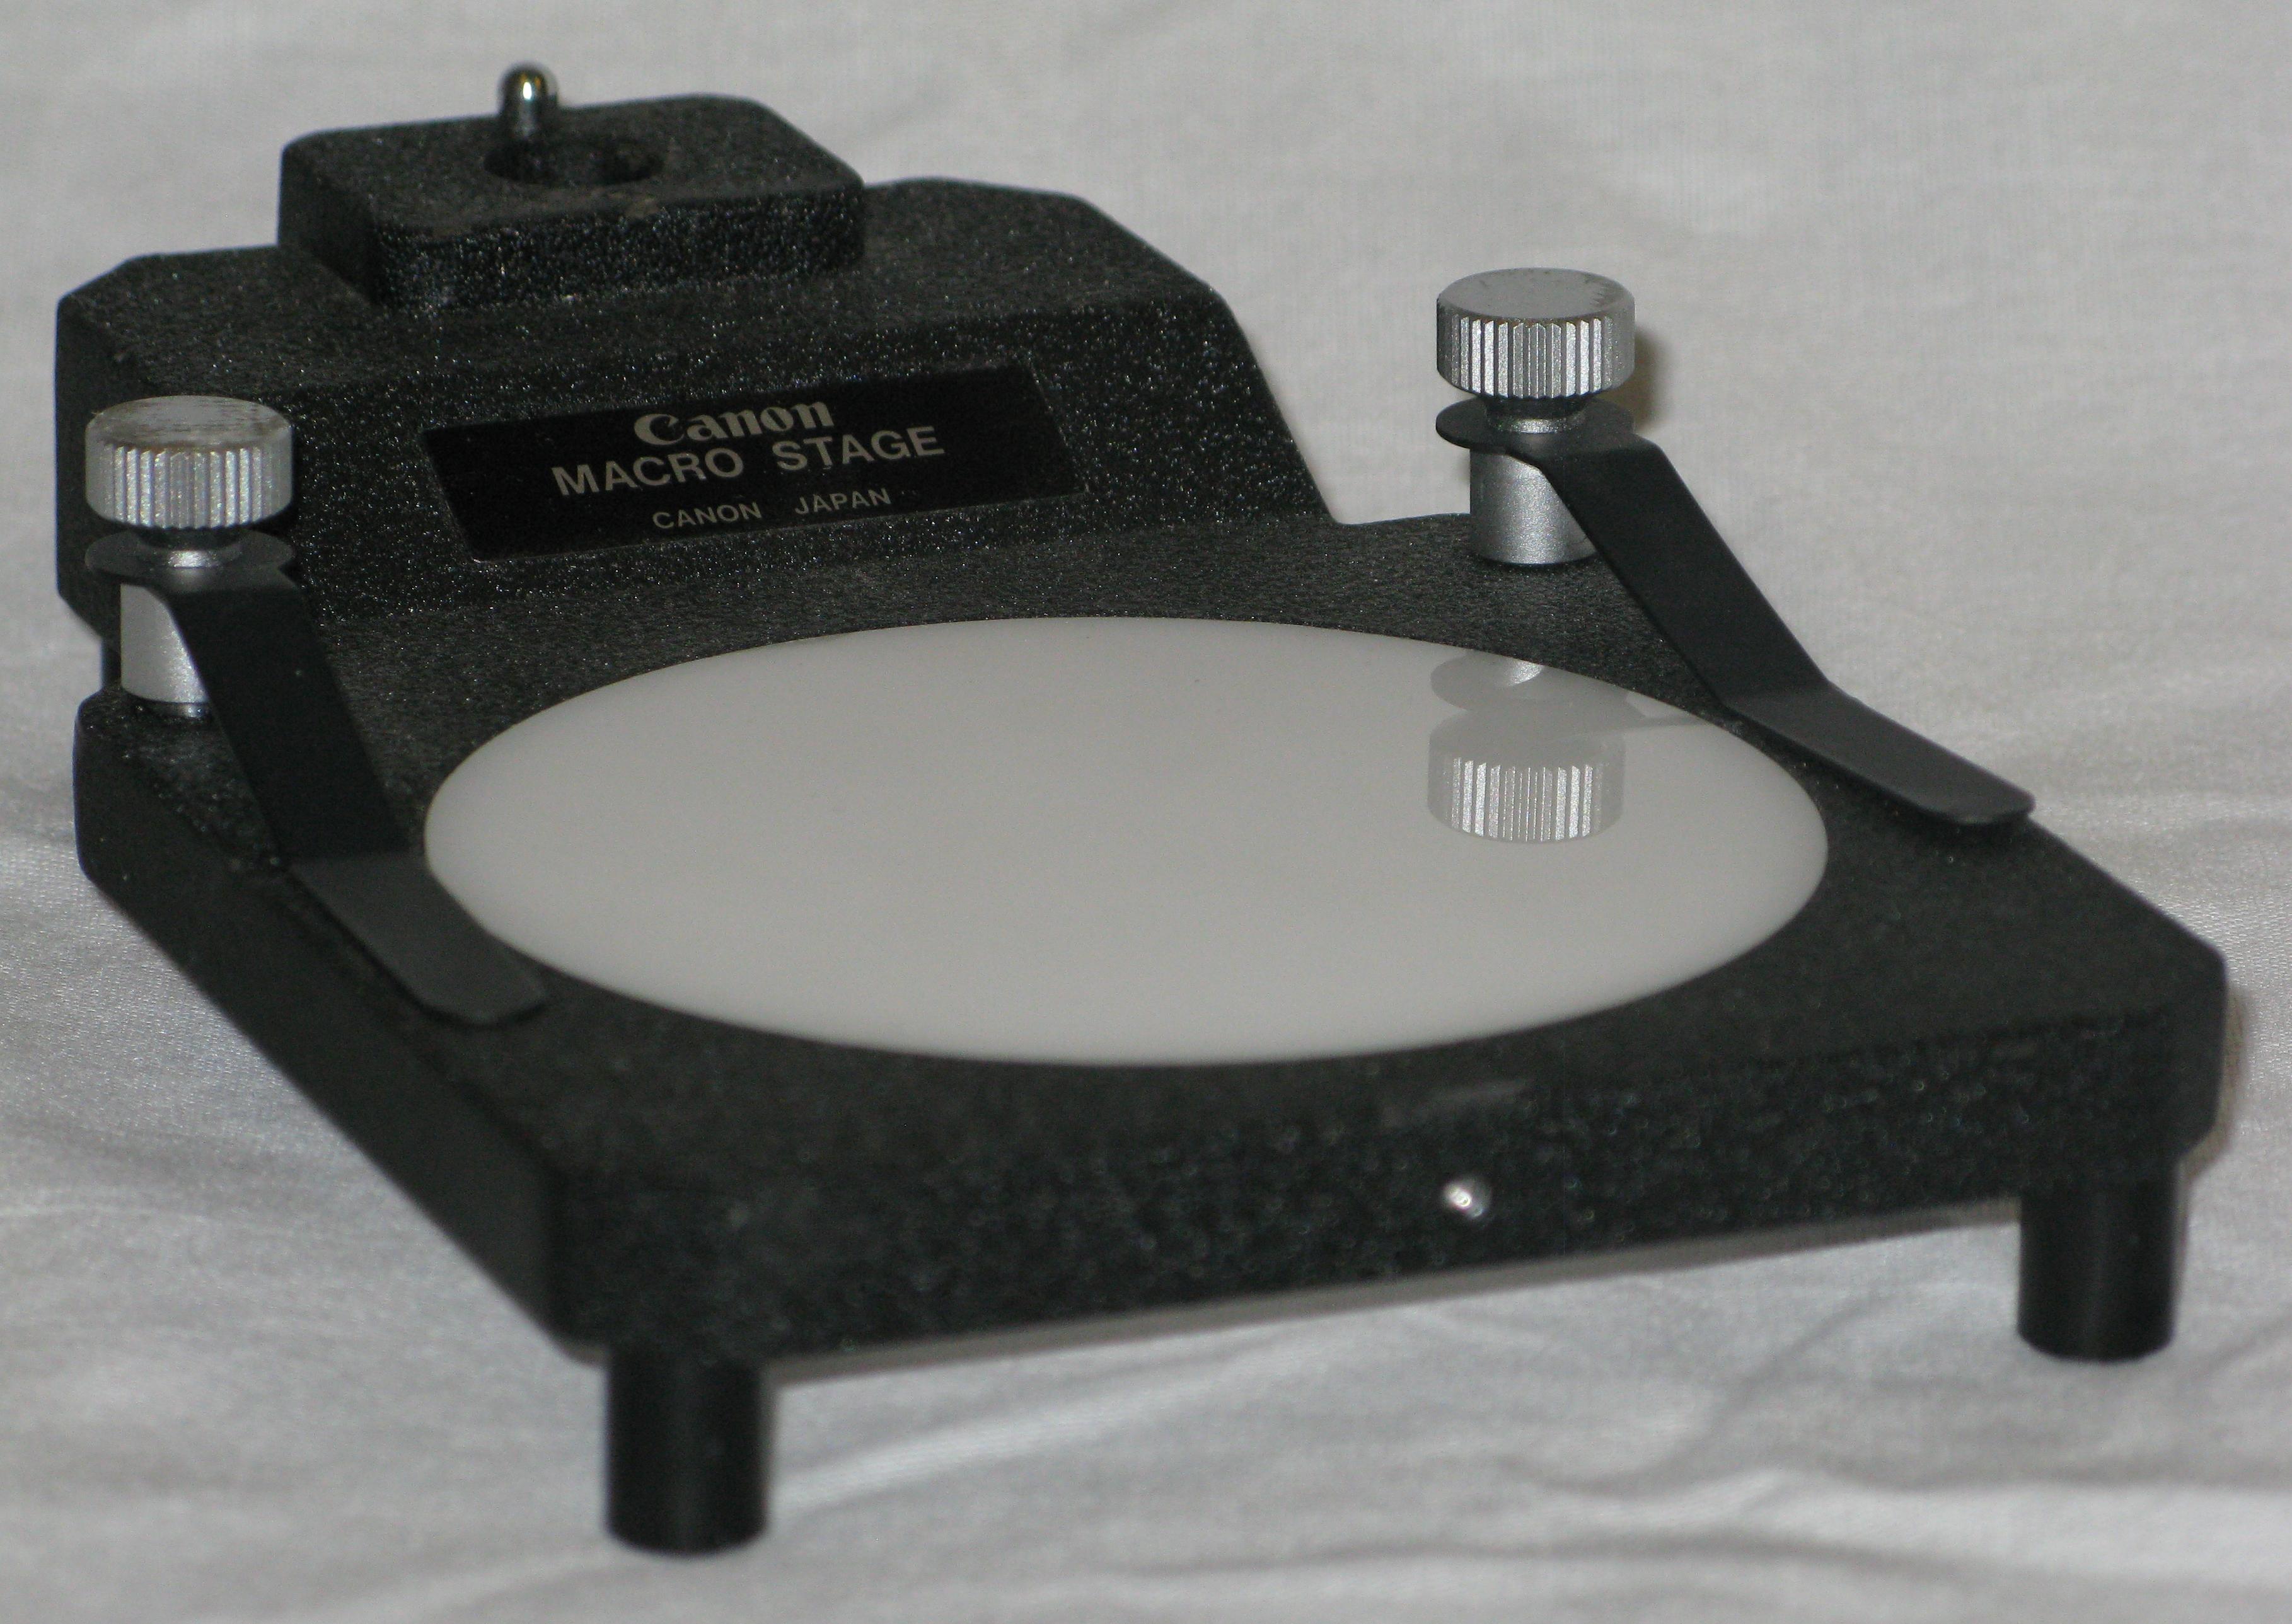
At the base of the rail (the end facing to the right) is a threaded hole to which the Macro Stage is mounted. The bellows then stands upright with the camera at the top and the lens at the bottom facing down.
In this photo a third set of wheels is visible under the rail. This admustmint is not used in this setup, but would be used if the bellows were mounted to a tripod.
|
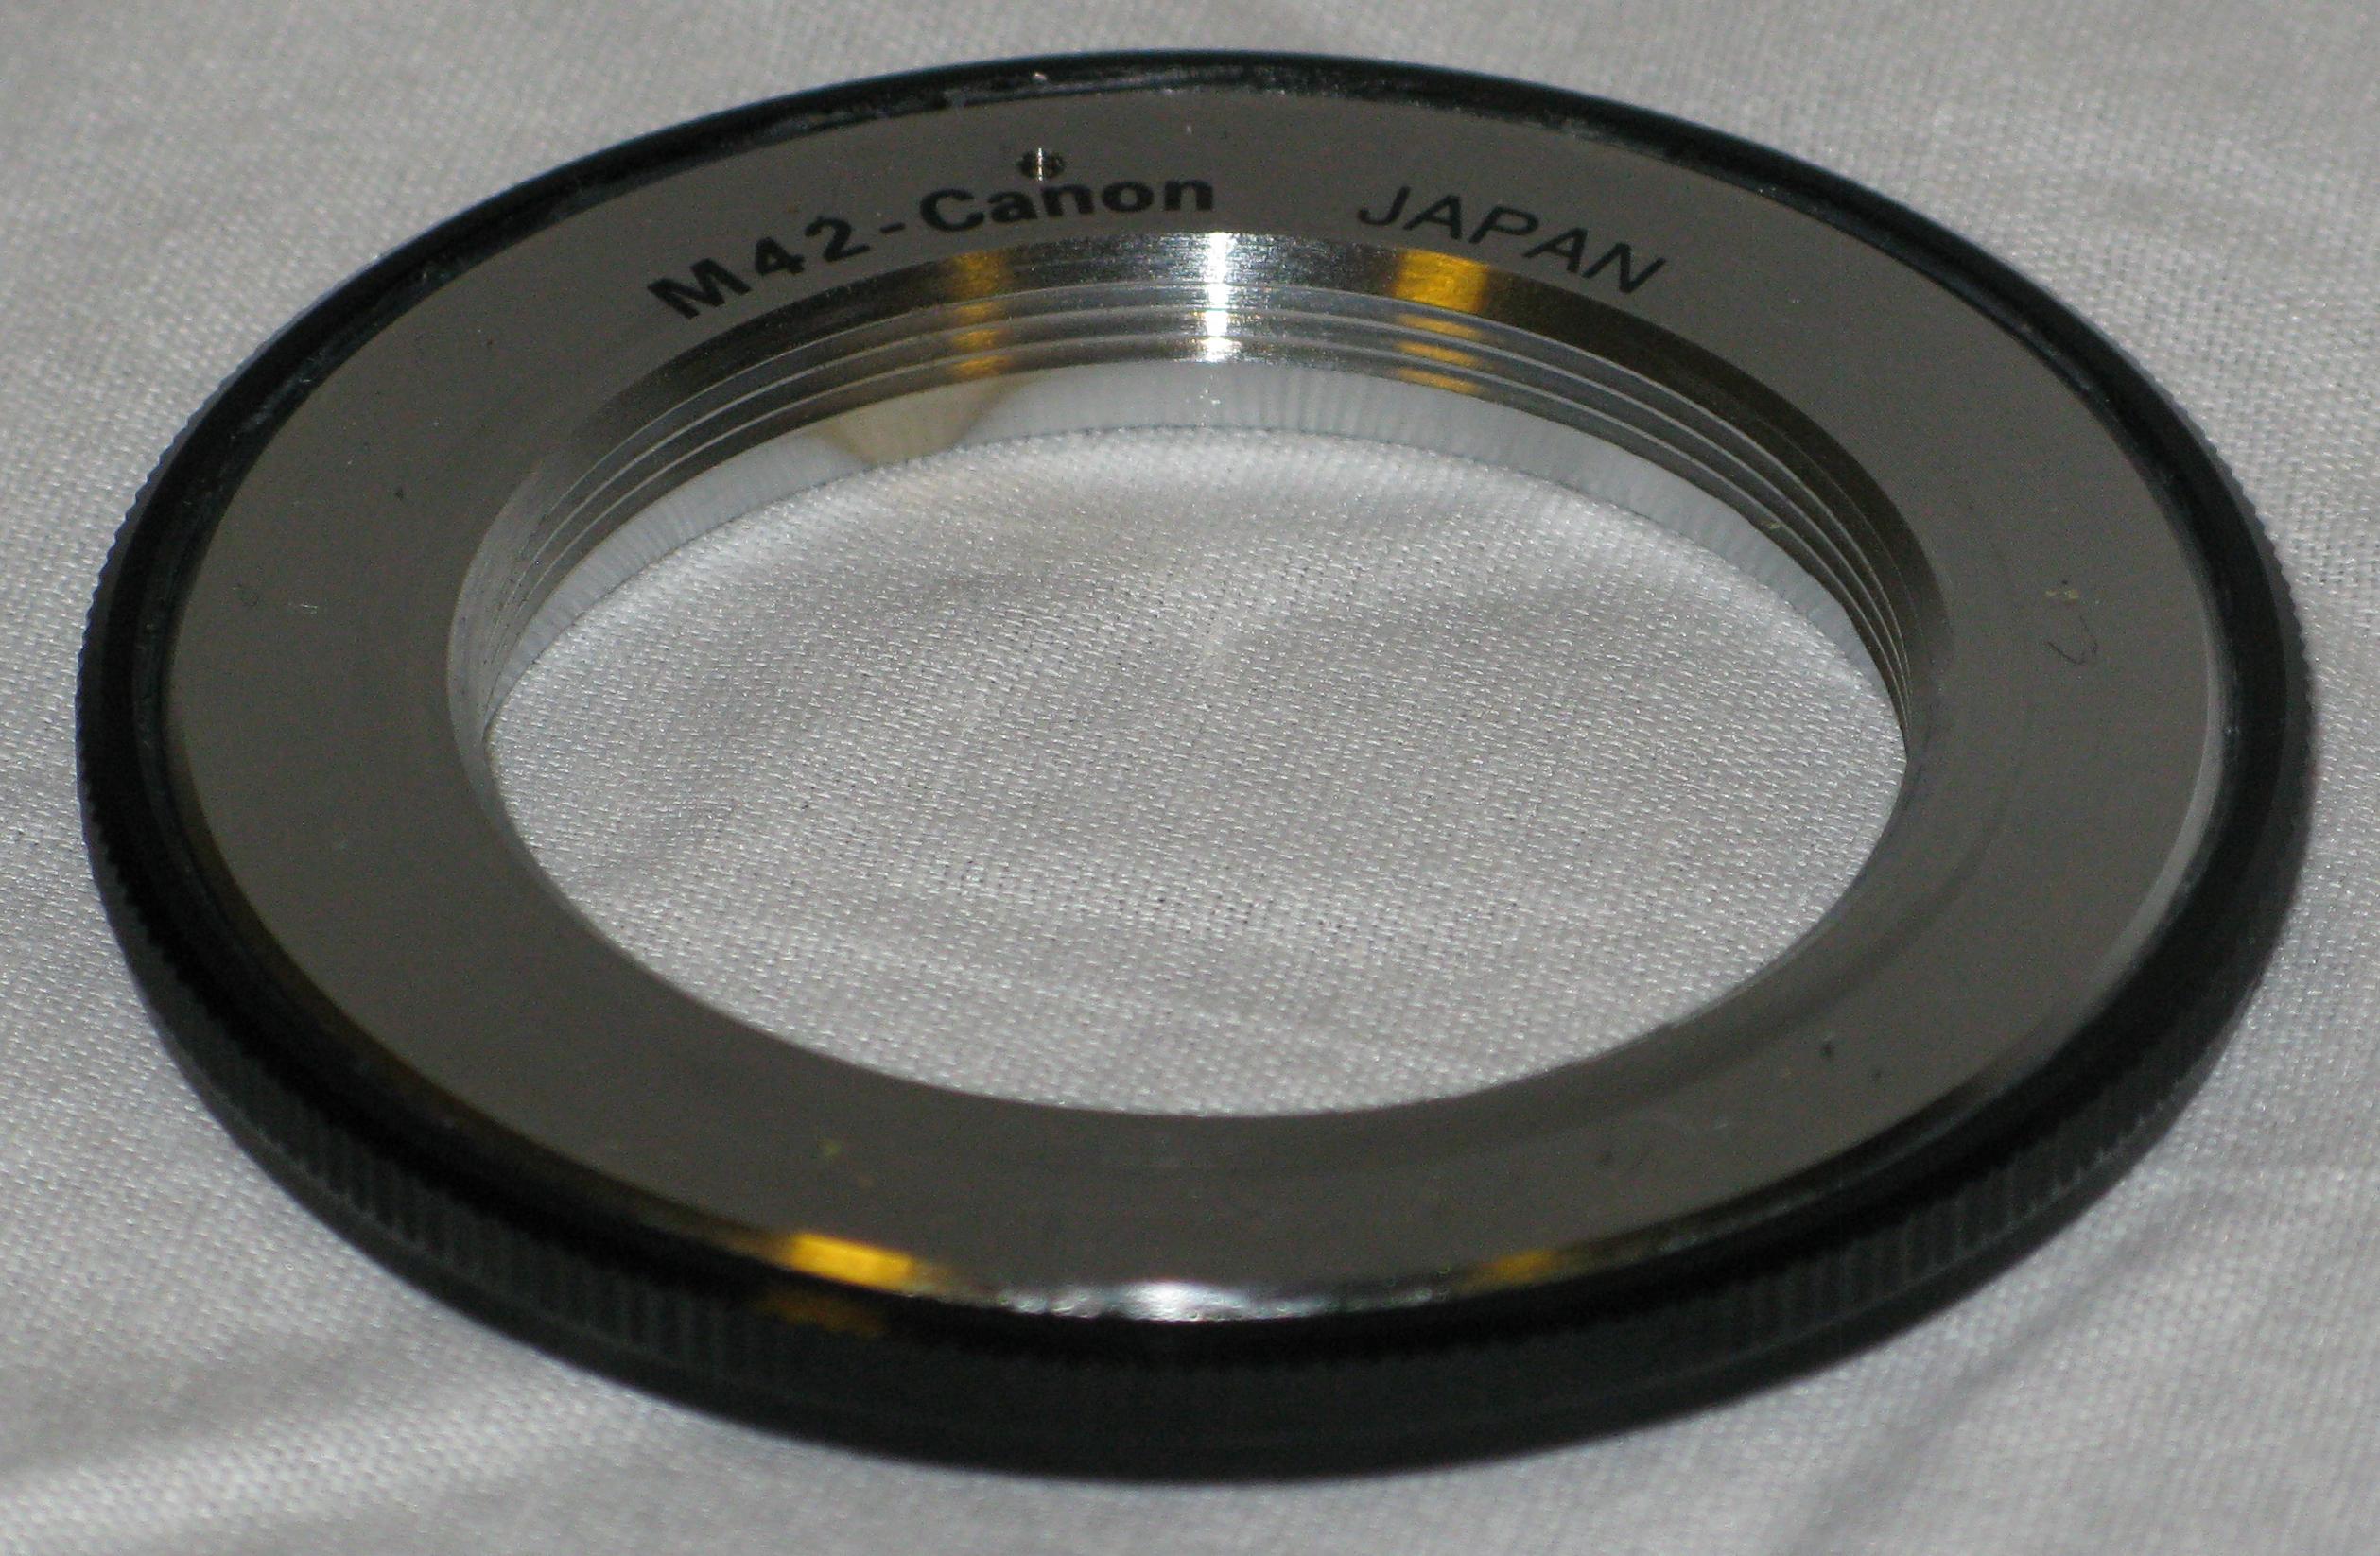
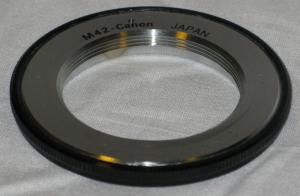 FD to M42 Adapter.
|
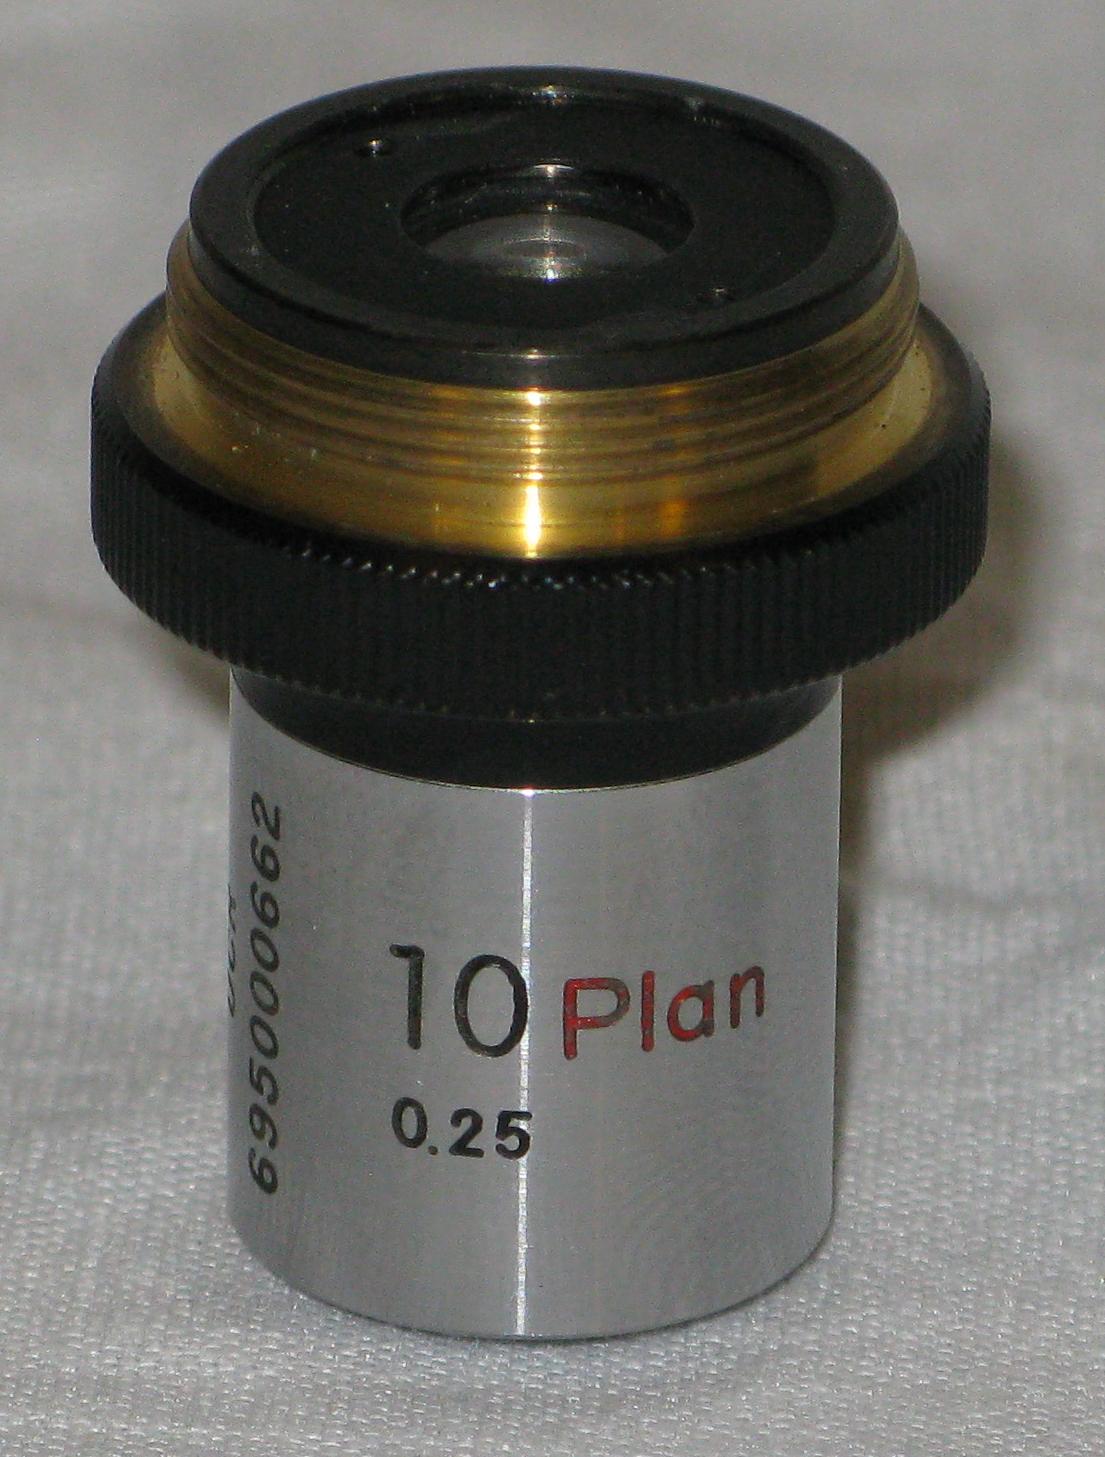
The microscope lens is attached by a standardized thread called RMS which stands for Royal Microscopical Society. It is this society that created the standards to which microscopy equipment is usually built.
An adapter is required to mount a microscope lens to the FD bellows. Canon makes such an adapter, but it is expensive. The same effect can be achieved using two inexpensive adapters. This adapter is the first of the two. It mounts to the front of the Auto Bellows using an FD mount. In the photo to the left the FD side is facing down. The hole in the middle of this adapter is threaded and adheres to a standard called M42. This standard specifies the hole diameter and the thread size.
There is another similar standard called T-Mount. This standard uses the same size hole, but a different thread size. Screwing a lens with a T-Mount to an M42 mount will cause damage. Be careful if you aren't sure of the standard to which your equipment was produced.
|
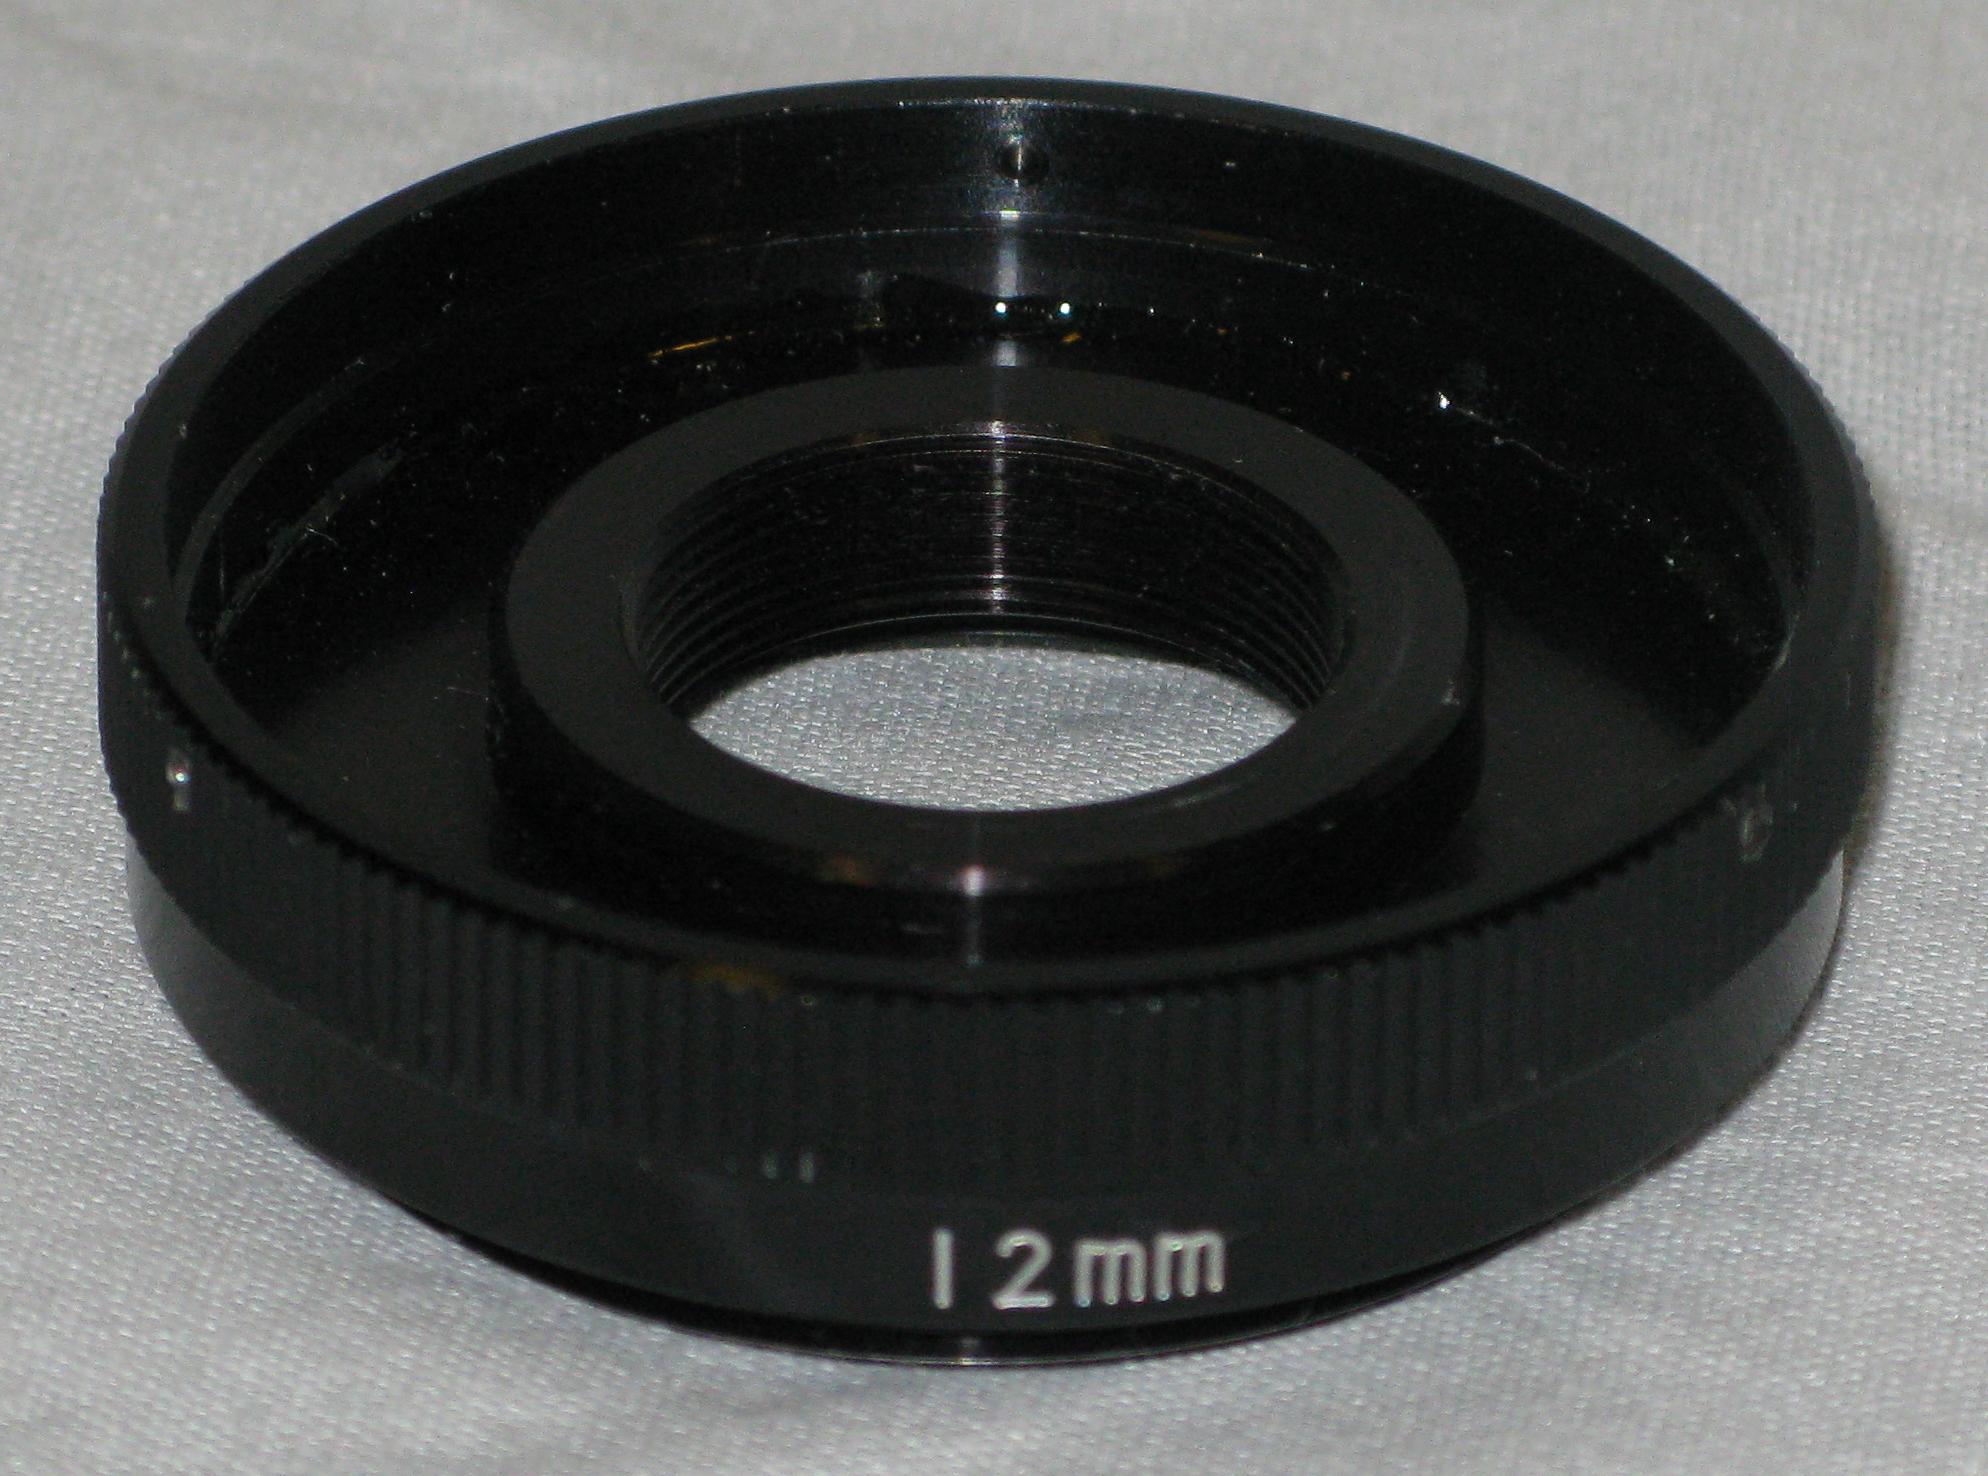
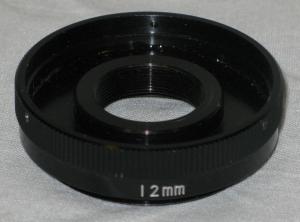 M42 to RMS Adapter.
|
This adapter is used in conjunction with the adapter above. It adapts from an M42 mount to the RMS mount used by the microscope lens.
|
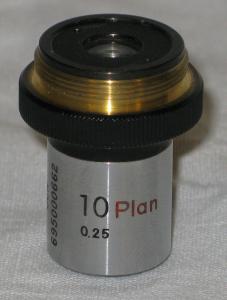 Microscope Objective Lens
|
It is the lens that makes the image. We've all held a magnifying glass to focus an image of a window against a wall. The microscope lens works exactly the same way.
This lens was the least expensive 10x lens I could find on eBay. Even this cheap lens makes a decent image. There are other lenses made for this type of photography. Most of them have irises that allow for the adjustment of the f-stop. You can open the iris all the way to focus, then close it down to get the sharpest image.
|
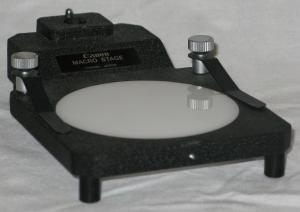 Canon Macro Stage.
|
The Canon Macro Stage bolts to the front end of the bellows rail and holds the whole setup upright. It also provides a platform for the item being photographed. The Macro Stage is designed to work with the Auto Bellows so the camera is held firmly at the correct angle.
|
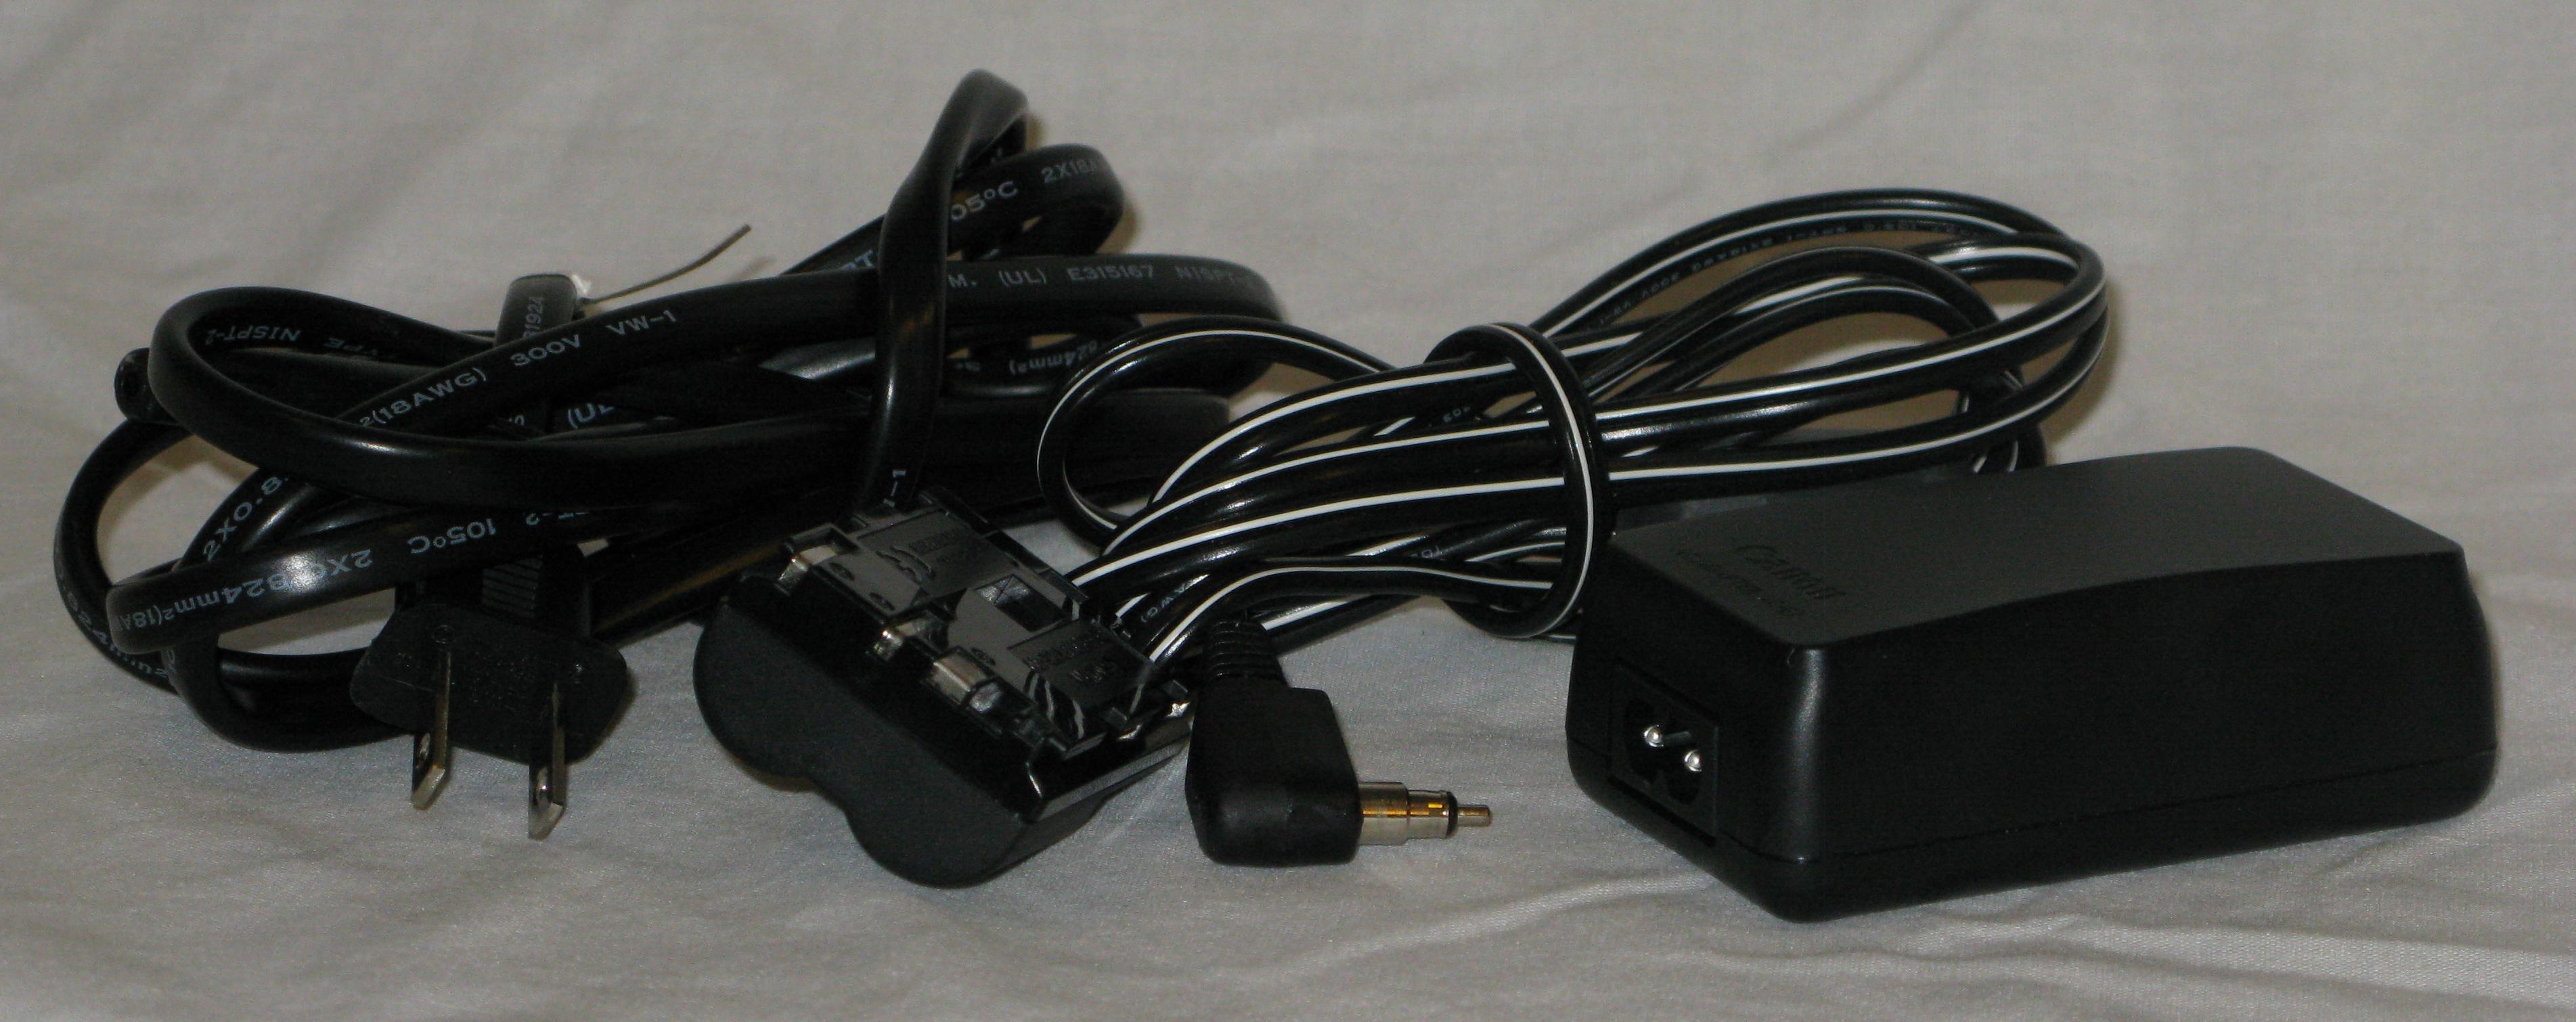
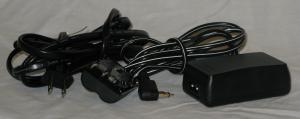 Canon DS8111 Power Adapter
|
The Canon DS8111 Power Adapter provides power for the camera. I would often go through several batteries for a session. The power adapter, being plugged into the wall, never runs out of power.
|
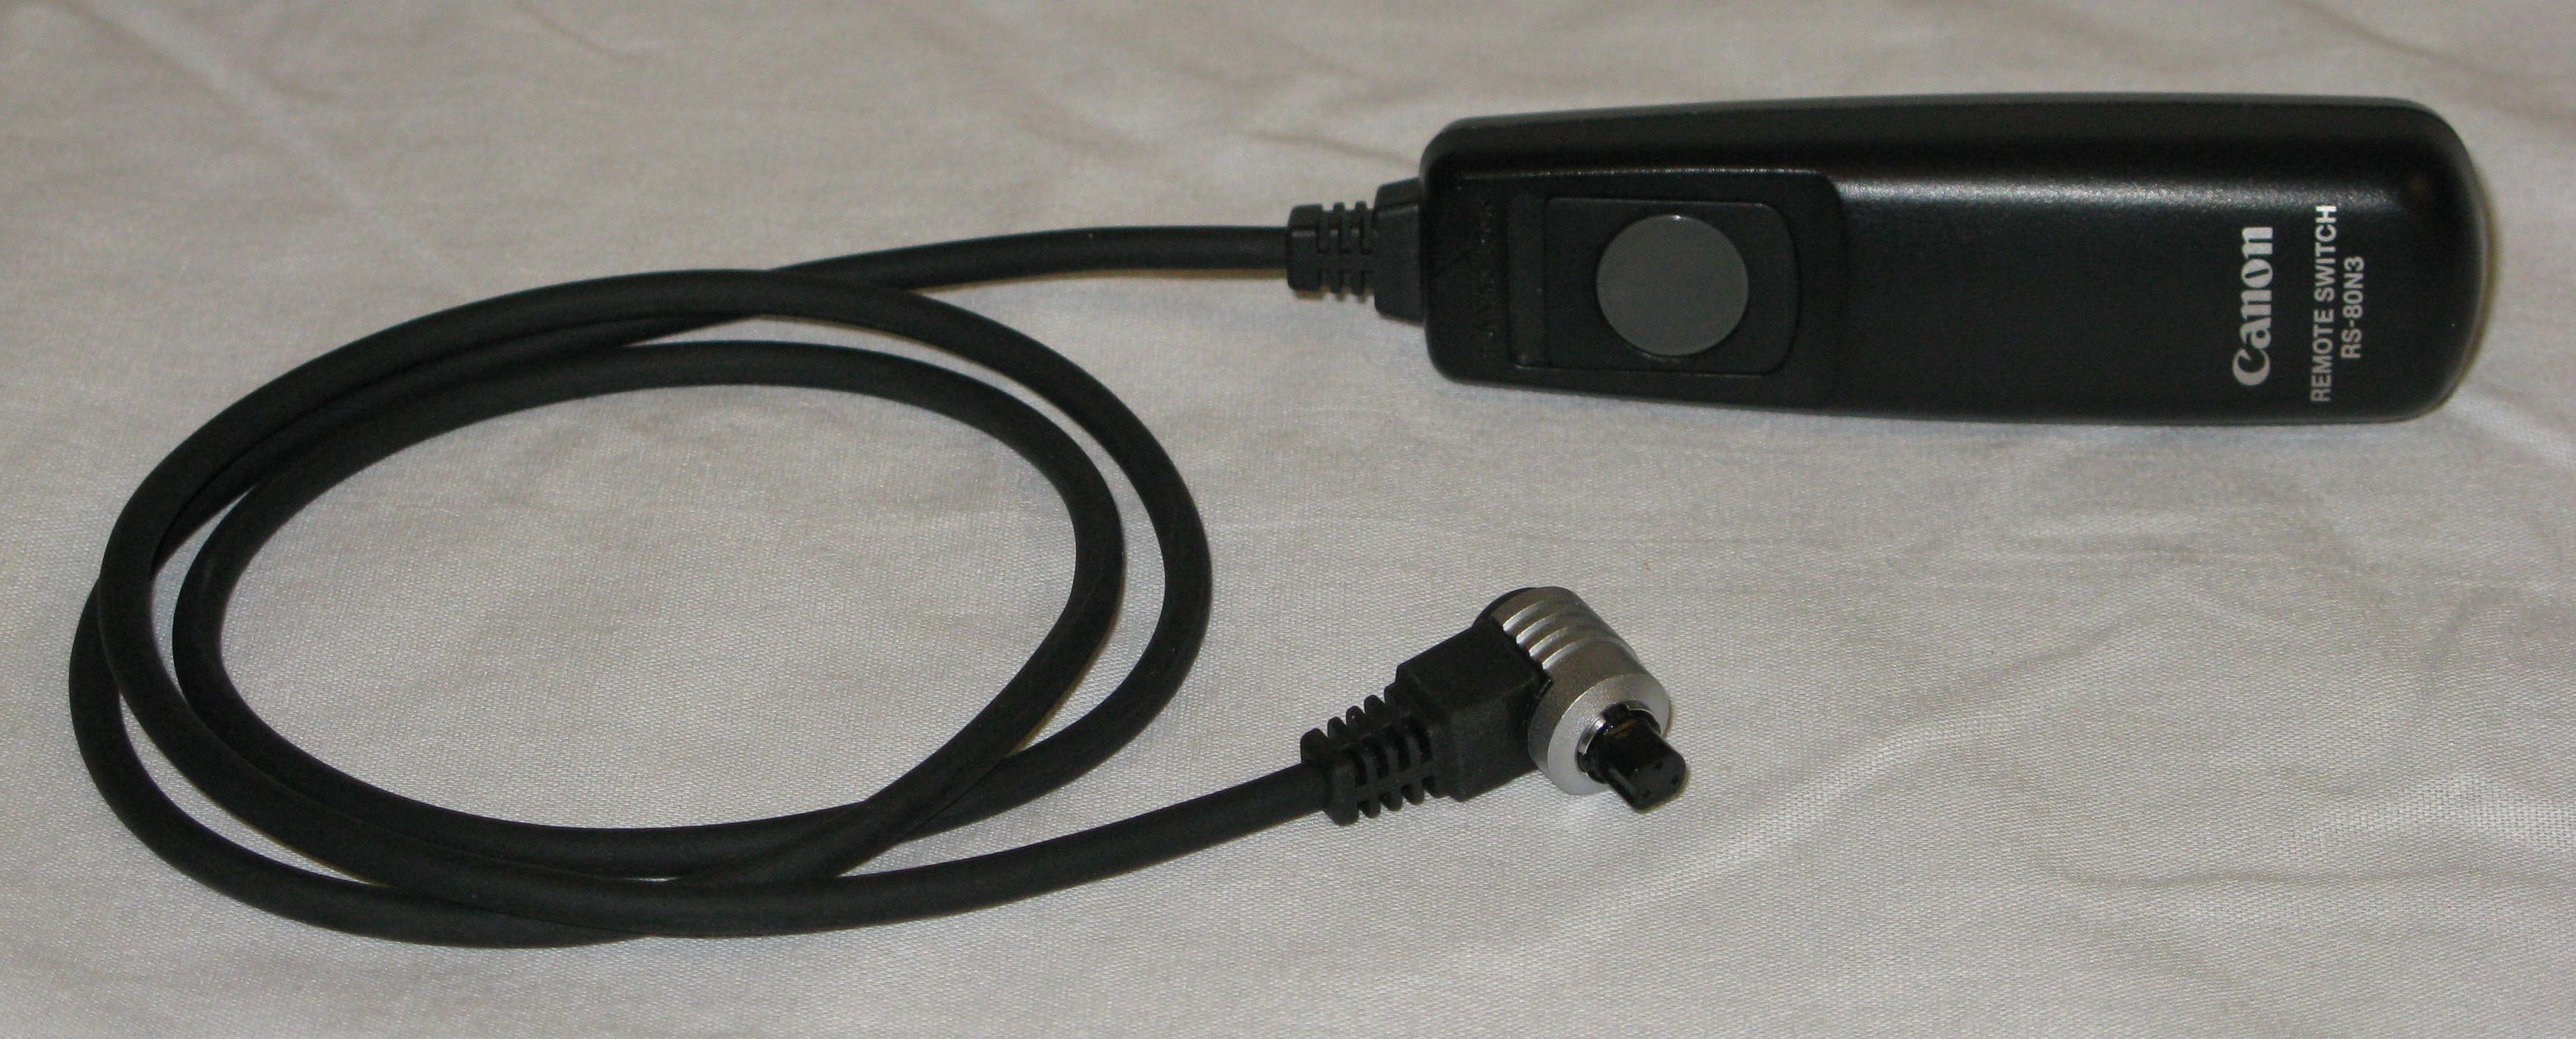
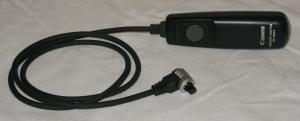 Canon RS-80N3 Remote Switch.
|
The Canon RS-80N3 Remote Switch allows for triggering a photo without touching the camera. When making longer exposures the shaking caused by pressing the camera's button causes obvious blur in the image.
|
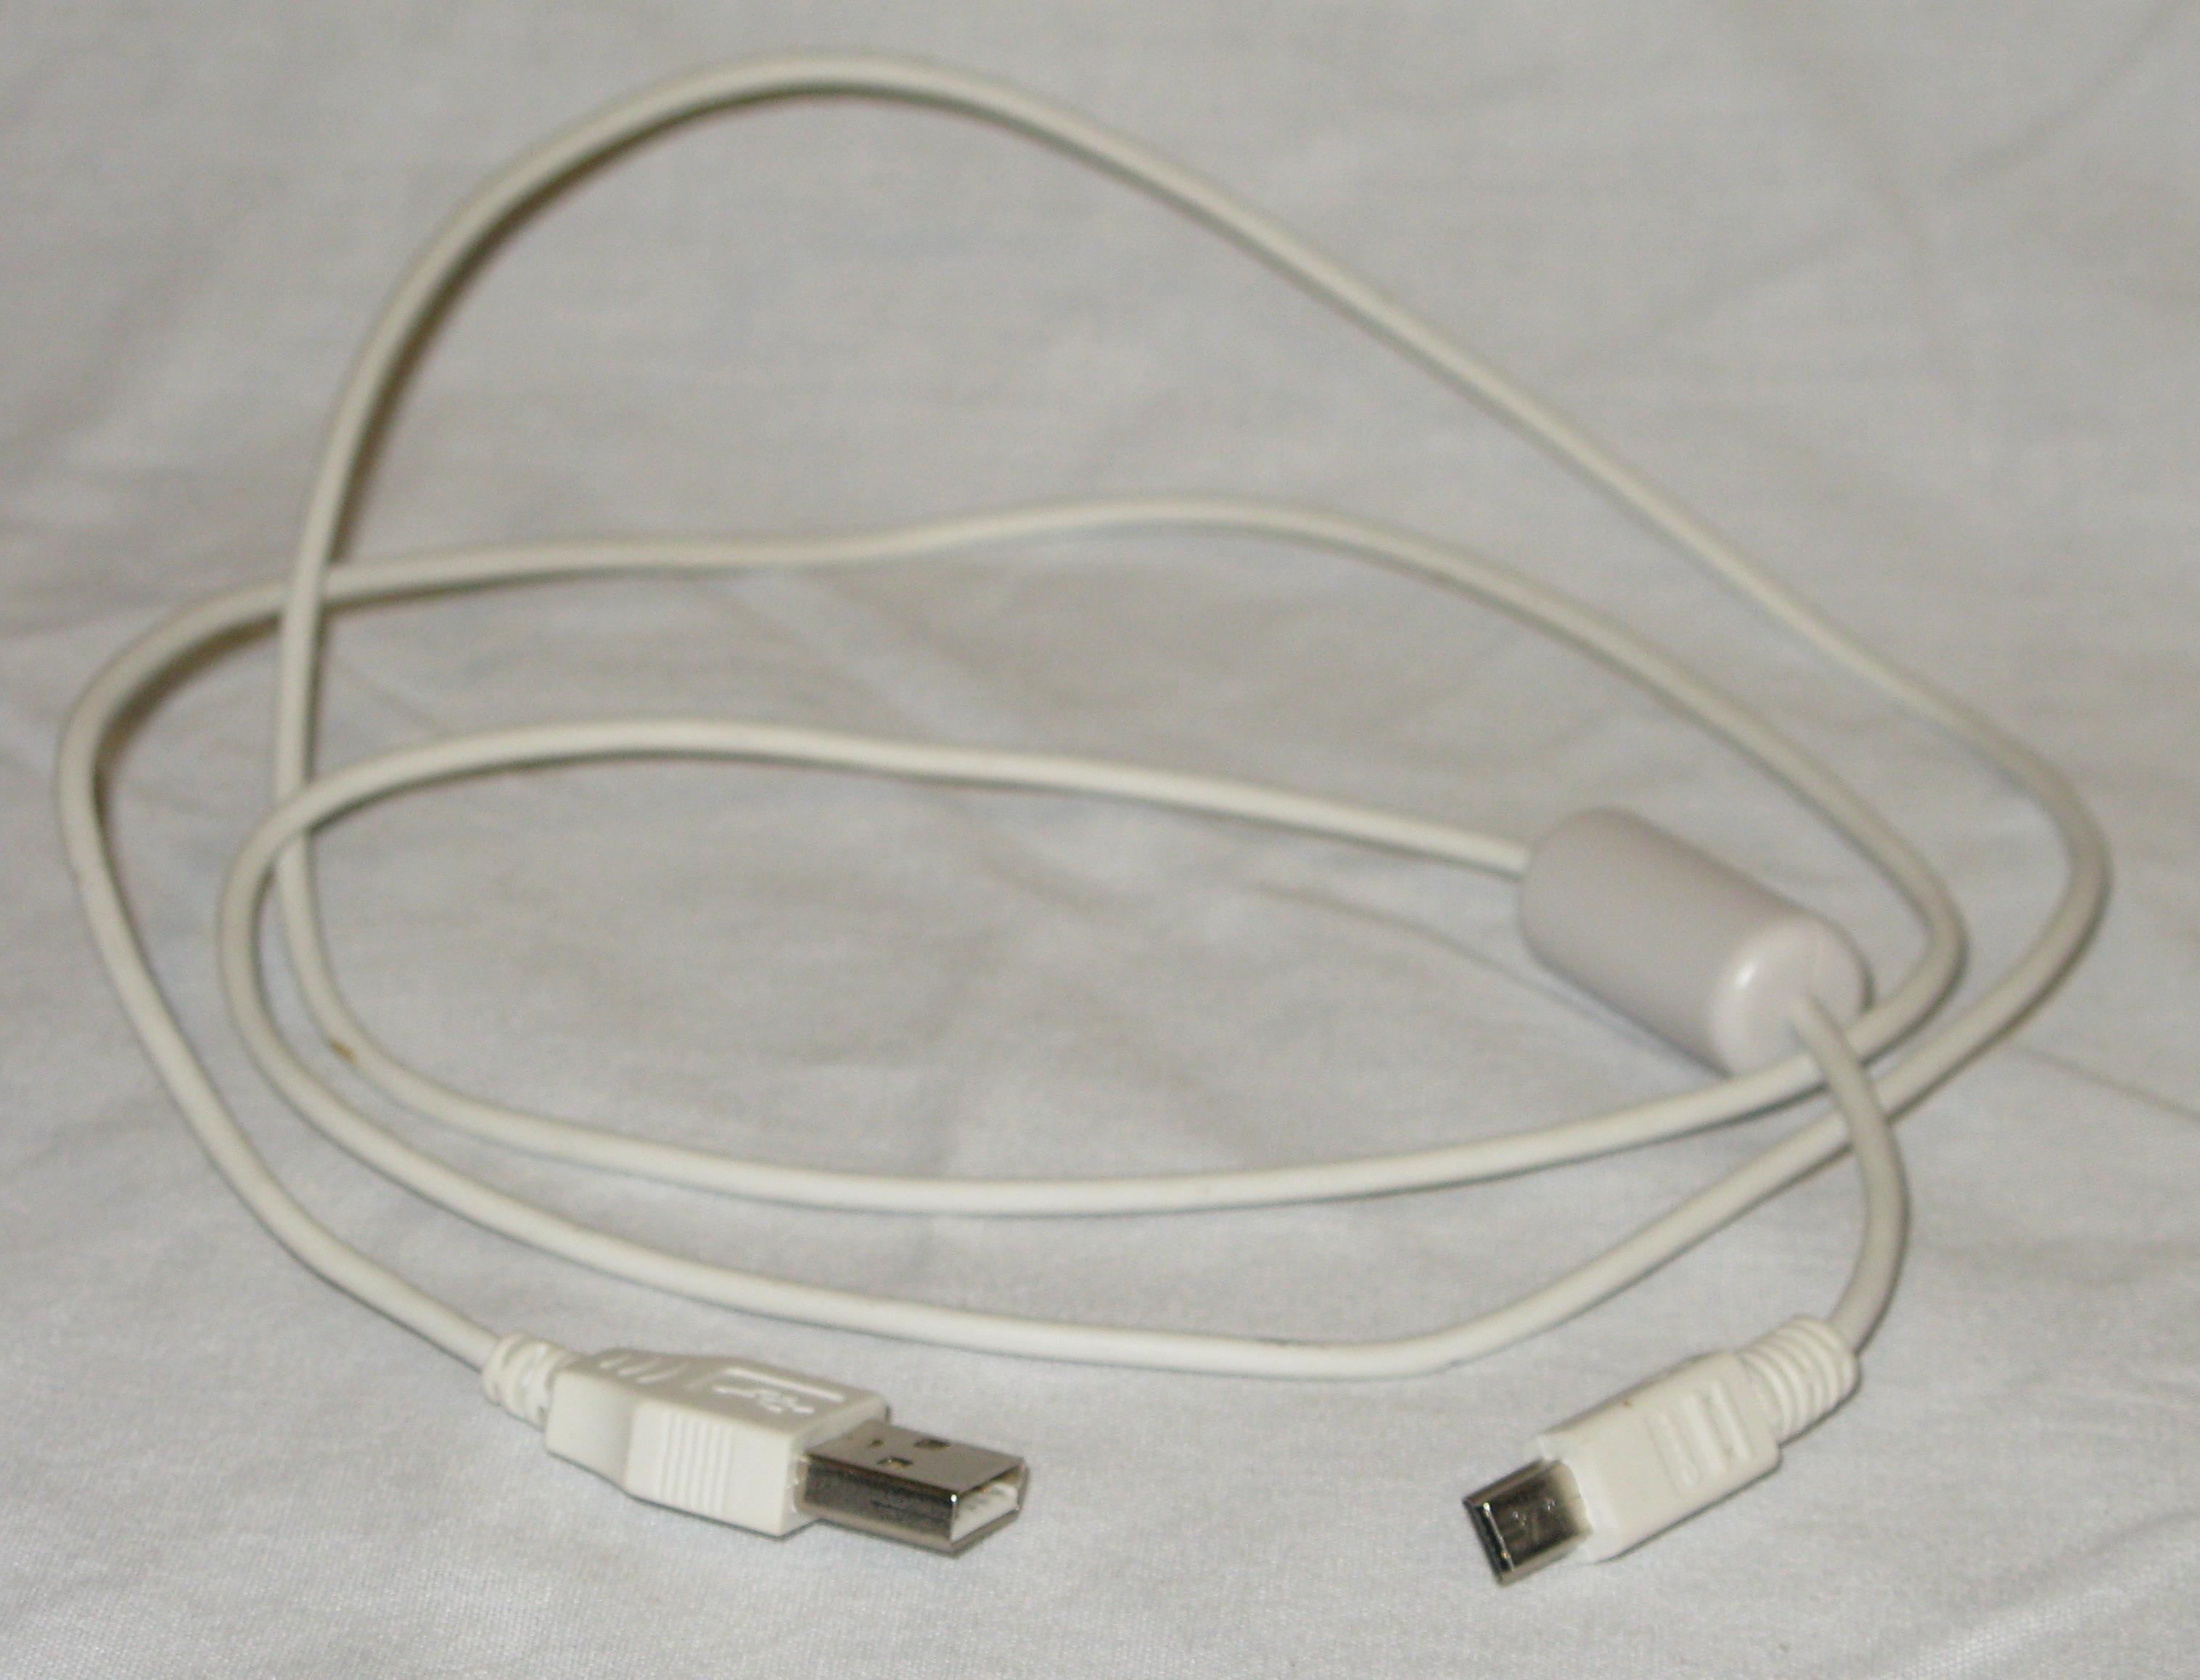
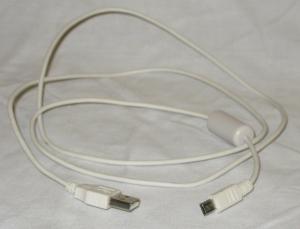 USB Cable
|
The USB Cable is a standard cable with a mini plug for the camera end. The software from Canon uses communicates with the camera through this cable. This software controls the camera settings, triggers a photo, and downloads each image to the computer, and automatically displays it for review.
|